
|
Do it yourself
| |||
| ||||


How to Replace the Front Grille on a Ford Transit MK8
Model: Ford Transit
- Years 2014-2024
Let's see how to replace the front grille on a Ford Transit MK8: first, identify the model. There are two versions: the pre-facelift with the wider part of the grille at the bottom; the facelift with the wider part at the top. This video shows a pre-facelift model. Prepare a kettle with boiling water: open the bonnet and pour it over the top of the grille. This softens the plastic and makes the clips more flexible, avoiding the need to pry with tools that could break something. Remove the top part. For the bottom part, pry to create a gap, then pour more hot water over the lower clips (be careful not to burn yourself) and release the clips. If fitting an aftermarket grille, some adjustment may be needed (available on AliExpress with code 1005007271272783 for £124.97, free delivery) by cutting or sanding some plastic. Use zip ties to secure everything tightly; they are barely visible and provide extra security. While the grille is off, take the opportunity to clean that area of the radiator that is normally hidden.
Posted on 26 September 2026 by ScegliAuto
Video tutorial
Related tutorials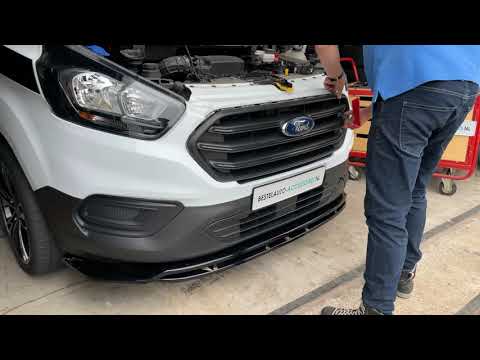
Ford Transit
(2014-2024 /
MK 8)
To replace the front grille on a Ford Transit, no special tools are required, as it is secured in place solely by clips. Therefore, remove the grille…
Ford Transit
(2014-2024 /
MK 8)
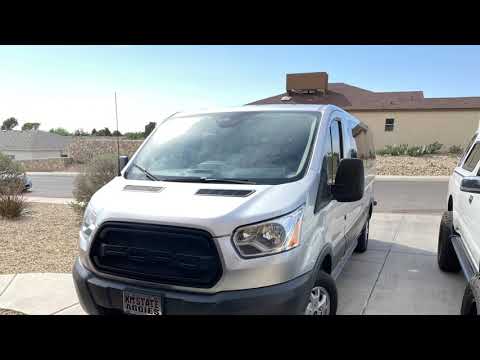
In this video tutorial, you will learn how to remove and replace the front grille of the Ford Transit Mk8 bumper by following these simple and quick …
Ford Transit
(2014-2024 /
MK 8)
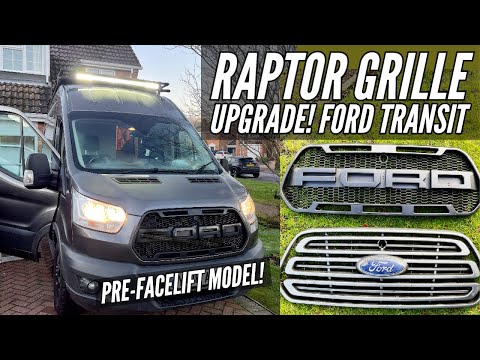
In this tutorial, you will see how to replace the front grille on a Ford Transit van. First, open the bonnet. Then, remove the various upper fixing b…
Other guides you may be interested in
|
How to Connect the Cables to the Battery of the Citroen Xsara Picasso?
In this tutorial, you will see how to connect the cables to the battery of the Citroen Xsara Picasso, useful if you need to recharge it or perform an emergency start. First, ensure the key is not inserted, then open the bonnet and move to the front of the left headlamp. Next, locate the bolt just behind the filter box and connect the positive terminal clamp to it. Now you can connect the negative terminal to any point on the chassis, such as the indicated point. Once the operation is complete, ensure you disconnect the negative first and then the positive. by ScegliAuto More videos
|
|
For advertising on this site Write to info@scegliauto.com
ScegliAuto is not responsible for any inaccuracy of the data in the lists. To report any inaccuracy or your business (if you own the business in question), please write to info@scegliauto.com
Number of seconds to generate the page: 0.071
(c) ScegliAuto 2026 - info@scegliauto.com - Privacy policy VAT number: IT01247470535 |
