
|
Do it yourself
| |||
| ||||


Front Bulb and Headlamp Replacement
Model: Ford Focus
MK 1
- Years 1998-2004
Open the bonnet and remove the retaining screws of the trim to access those of the headlamp assembly. Once the headlamp is removed, detach the rear retaining spring of the optical unit using a screwdriver. Pull the entire optical unit outwards and disconnect the connectors. Remove the bulb holder clip and take out the bulb. Insert the new bulb, being very careful not to touch the glass bulb with your hands. Reposition the bulb holder in its housing and secure it with the spring. For replacing other bulbs, proceed in the same manner. Carefully refit the lighting assembly into the vehicle's housing. Repeat the same operation with the other assembly. Check the operation by turning on the headlights.
Updated on 6 February 2026 by ScegliAuto
Video tutorial
Related tutorials
Ford Focus
(2004-2011 /
MK 2, Focus 2)
In this new guide dedicated to all of you who own a second series Ford Focus, we will discover how to correctly replace the headlight bulb. First of …
Ford Focus
(2011-2018 /
MK 3)
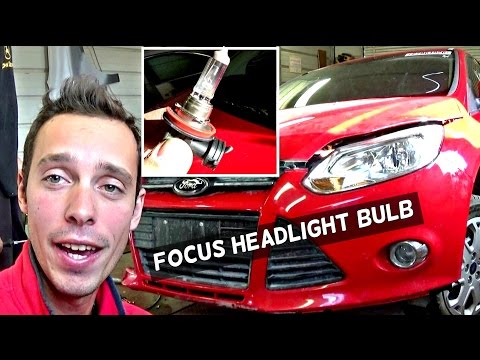
To replace the front headlight bulbs (H11 and H1 fittings), you must remove the headlight, but fortunately, this does not require the removal of othe…
Ford Focus
(2011-2018 /
MK 3)
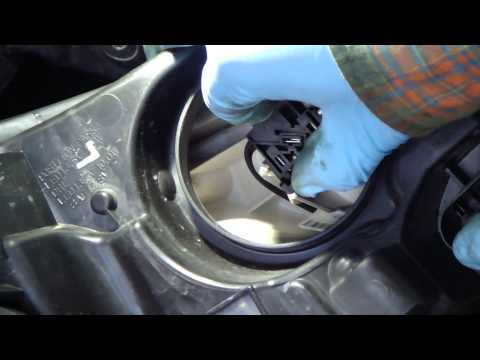
Before proceeding with the replacement of the front headlamp bulb, switch off the ignition and lights. Since there is limited space behind the headla…
Other guides you may be interested in
|
How to Replace the Remote Battery for the Volvo XC40?
In this tutorial, you will see how to replace the battery in the remote for the Volvo XC40, a very simple and quick operation. For this, you will need a replacement battery of type CR2032 and possibly a small flathead screwdriver. First, remove the front cover by pressing the button on the metal ring, then locate the second button, press it as well, and remove the opposite cover. Next, open the circular cap, take out the old battery, and insert the new one in the opposite direction. Finally, reassemble everything. by ScegliAuto More videos
|
|
For advertising on this site Write to info@scegliauto.com
ScegliAuto is not responsible for any inaccuracy of the data in the lists. To report any inaccuracy or your business (if you own the business in question), please write to info@scegliauto.com
Number of seconds to generate the page: 0.065
(c) ScegliAuto 2026 - info@scegliauto.com - Privacy policy VAT number: IT01247470535 |
