
|
Do it yourself
| |||
| ||||


|
Model: Harley Davidson Sportster 1200
In this video tutorial, you will learn how to remove the original indicators from a Harley Davidson Sportster 1200 in simple steps and without the need for special tools. Removing the indicators from your Harley is really straightforward; to do this, unscrew the bolt found on the mudguard and remove the horizontal pin; then disconnect the electrical cable and remove the entire indicator to replace it with the new one. The video shows how to install a new type of LED indicators, making the necessary modifications; so follow the video to the end for the installation of the new indicators!
Updated on 24 April 2026 by ScegliAuto
Video tutorial
Related tutorials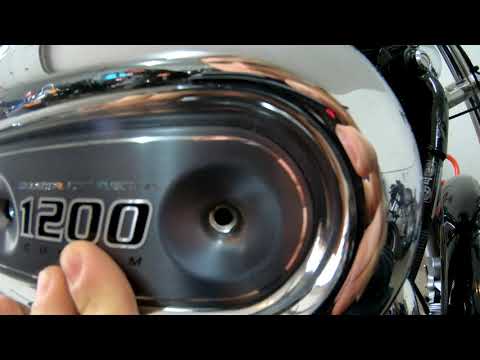
Sportster 1200
To replace the air filter on a Harley Davidson Sportster 1200, loosen the two screws securing the chrome cover of the casing located on the right sid…

Sportster 1200
In today's video, learn how to remove and replace the battery on a Harley Davidson Sportster 1200 in simple steps. First, remove the seat by unscrewi…

Sportster 1200
In today's video tutorial, we will go through the main instructions for removing the rear wheel on the 2013 Harley Davidson Sportster 1200. First, li…
|
How to Replace the Battery in a Yamaha FZ6?
Replacing the battery in the Yamaha FZ6, as shown in this tutorial, is a very simple and quick operation. First, ensure that the key is not inserted, then remove the rider's seat and, using a 10mm socket spanner, loosen the bolt on the tank hinge. Next, unscrew both the front bolts and the fairing mounting bolts, lift the entire tank, and disconnect both terminals starting with the negative. At this point, you can remove the upper plastic plate, take the battery out of its housing, and fit the replacement. by ScegliAuto More videos
|
|
For advertising on this site Write to info@scegliauto.com
ScegliAuto is not responsible for any inaccuracy of the data in the lists. To report any inaccuracy or your business (if you own the business in question), please write to info@scegliauto.com
Number of seconds to generate the page: 0.008
(c) ScegliAuto 2026 - info@scegliauto.com - Privacy policy VAT number: IT01247470535 |
