
|
Do it yourself
| |||
| ||||


|
Model: Harley Davidson Road Glide
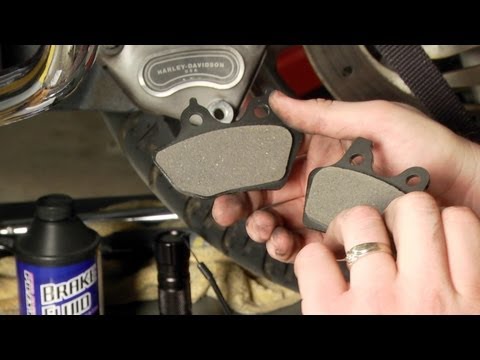
To replace the rear brake pads of the Harley Davidson Road Glide, you need to detach the right side panel of the bike, near the rear wheel. Once the panel is removed, you can access the caliper by loosening the bolts that secure it to the brake. After detaching the caliper from the disc, you can remove the pads inside and replace them with new spare parts. Once replaced, reposition the caliper on the disc and secure it with the bolts.
Updated on 8 June 2026 by ScegliAuto
Video tutorial
Related tutorials
Road Glide
This guide outlines the steps to remove and replace the rear brake pads on a Harley Davidson Road Glide motorcycle. First, place your motorcycle on a…
Road Glide
To replace the front brake pads on a Harley Davidson Road Glide, loosen the bolts securing the caliper to the brake disc, both at the top and bottom.…

Road Glide
To replace the brake pads on the Harley Davidson Road Glide, you need to perform the same operation for both the front and rear wheels: you will need…
|
Changing the Oil and Filter on the Kawasaki Versys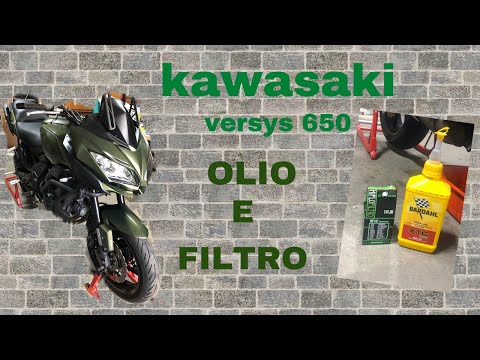
Here’s how to change the oil and filter on the Kawasaki Versys. Warm up the engine for a few minutes, place the motorcycle on the centre stand, open the filler cap, and remove the drain plug underneath the engine. Place a catch basin under the oil sump, unscrew the drain plug, and let the oil drain out. Unscrew the oil filter and let all the old oil drain out. Install a new filter and tighten it with the appropriate tool. Pour half a glass of new oil into the filler cap and wait for it to flow out of the drain hole, after which replace the plug. Fill with approximately 1.8 litres of new oil, take it for a short ride to circulate the oil in the engine, stop the engine, and check the level through the designated window. Top up if necessary. by ScegliAuto More videos
|
|
For advertising on this site Write to info@scegliauto.com
ScegliAuto is not responsible for any inaccuracy of the data in the lists. To report any inaccuracy or your business (if you own the business in question), please write to info@scegliauto.com
Number of seconds to generate the page: 0.006
(c) ScegliAuto 2026 - info@scegliauto.com - Privacy policy VAT number: IT01247470535 |
