
|
Do it yourself
| |||
| ||||


How to Replace the Brake Pads on the Harley Davidson Road Glide?
Model: Harley Davidson Road Glide
Video tutorial
To replace the brake pads on the Harley Davidson Road Glide, you need to loosen the screws that secure the brake caliper to the corresponding disc. Once the caliper screws are loosened, you can detach the caliper from the disc so that the pads inside can be removed after taking out the pin. Once the old pads are removed, proceed to insert the new pads into their place: this way, you can secure them with the appropriate screws, ensuring that everything is functioning correctly.
Updated on 11 October 2026 by ScegliAuto
Related tutorials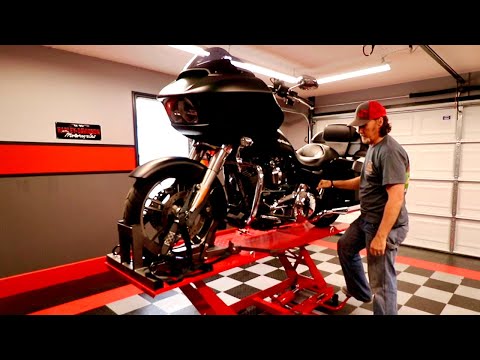
Road Glide
To replace the rear brake pads of the Harley Davidson Road Glide, you need to detach the right side panel of the bike, near the rear wheel. Once the …
Road Glide
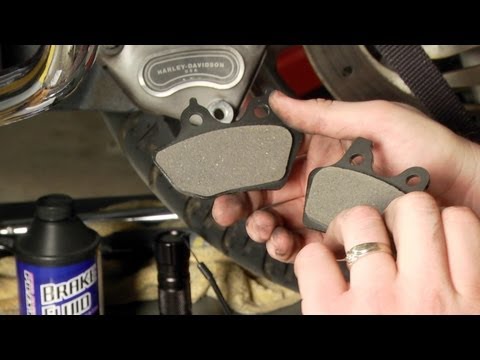
To replace the front brake pads on a Harley Davidson Road Glide, loosen the bolts securing the caliper to the brake disc, both at the top and bottom.…

Road Glide
This guide outlines the steps to remove and replace the rear brake pads on a Harley Davidson Road Glide motorcycle. First, place your motorcycle on a…
|
How to replace the clutch lever on the Sherco SEF 300?
To replace the clutch lever on the Sherco SEF 300, you need to loosen the screws that secure the lever to its housing on the left side of the handlebars. Once these screws are loosened, you can unscrew the nut at the base of the lever to disconnect the clutch cable attached to the corresponding lever. Once the cable is detached, the lever can be removed from its housing and replaced with a new spare part; after installation, ensure that it functions correctly. by ScegliAuto More videos
|
|
For advertising on this site Write to info@scegliauto.com
ScegliAuto is not responsible for any inaccuracy of the data in the lists. To report any inaccuracy or your business (if you own the business in question), please write to info@scegliauto.com
Number of seconds to generate the page: 0.006
(c) ScegliAuto 2026 - info@scegliauto.com - Privacy policy VAT number: IT01247470535 |
