
|
Do it yourself
| |||
| ||||


|
Model: Harley Davidson Road Glide
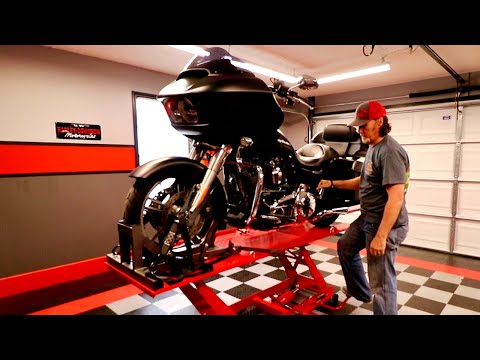
This guide outlines the steps to remove and replace the rear brake pads on a Harley Davidson Road Glide motorcycle. First, place your motorcycle on a stand and begin unscrewing the fixing bolts of the rear brake caliper, removing it from the disc; then leverage the caliper piston to retract it, thus removing the old pads, as shown in the video. Now clean the caliper and install the new brake pads; then secure the caliper back onto the disc, following the video tutorial until the end!
Updated on 17 May 2026 by ScegliAuto
Video tutorial
Related tutorials
Road Glide
To replace the brake pads on the Harley Davidson Road Glide, you need to perform the same operation for both the front and rear wheels: you will need…

Road Glide
In order to replace the brake pads of the Harley Davidson Road Glide, you must loosen the screws that secure the brake caliper to the corresponding d…
Road Glide
To replace the rear brake pads of the Harley Davidson Road Glide, you need to detach the right side panel of the bike, near the rear wheel. Once the …
|
How to Replace the Battery of the Kymco Agility 125?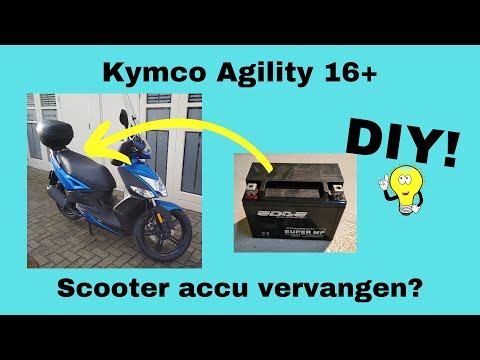
To replace the battery of the Kymco Agility 125, lift the seat to access the compartment underneath. At the rear of the under-seat compartment, you will find the battery under the corresponding panel. By unscrewing the screws that secure the panel, you can access the battery underneath, which must be freed from the corresponding securing screws and the appropriate power cables. Once the device is free, insert the new one, connecting and securing it properly, and cover everything with the panel. by ScegliAuto More videos
|
|
For advertising on this site Write to info@scegliauto.com
ScegliAuto is not responsible for any inaccuracy of the data in the lists. To report any inaccuracy or your business (if you own the business in question), please write to info@scegliauto.com
Number of seconds to generate the page: 0.004
(c) ScegliAuto 2026 - info@scegliauto.com - Privacy policy VAT number: IT01247470535 |
