
|
Do it yourself
| |||
| ||||


How do you replace the brake pads on a Harley Davidson Road Glide?
Model: Harley Davidson Road Glide
Video tutorial
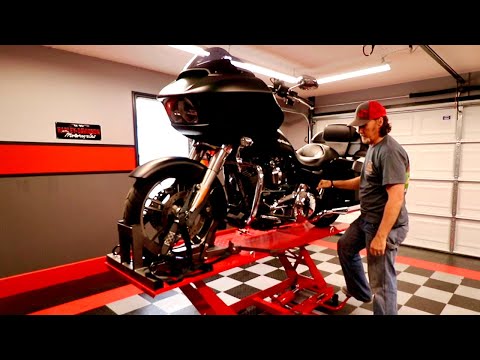
To replace the brake pads on the Harley Davidson Road Glide, you need to perform the same operation for both the front and rear wheels: you will need to loosen the screws that secure the brake caliper to the corresponding disc. This will allow you to completely detach the caliper from its disc, enabling you to remove the pads inside it. Once the old pads have been removed, you can insert the new ones. This way, you will be able to secure them properly and reinstall the calipers onto the discs.
Posted on 28 November 2025 by ScegliAuto
Related tutorials
Road Glide
To replace the brake pads on the Harley Davidson Road Glide, you need to loosen the screws that secure the brake caliper to the corresponding disc. O…

Road Glide
This guide outlines the steps to remove and replace the rear brake pads on a Harley Davidson Road Glide motorcycle. First, place your motorcycle on a…
Road Glide
To replace the rear brake pads of the Harley Davidson Road Glide, you need to detach the right side panel of the bike, near the rear wheel. Once the …
|
Replacing the Front Brake Pads on the Triumph Daytona 675
The following instructions will allow you to remove and replace the front brake pads on the Triumph Daytona 675. First, place the bike on a stand and begin undoing the fixing screws of the front brake caliper; apply pressure to the caliper piston to retract it, thus removing the old brake pads, as shown in the video. At this point, clean the caliper of any residual dirt, then install the new original brake pads; reattach the caliper to the disc, replacing the other brake pads in the same manner! by ScegliAuto More videos
|
|
For advertising on this site Write to info@scegliauto.com
ScegliAuto is not responsible for any inaccuracy of the data in the lists. To report any inaccuracy or your business (if you own the business in question), please write to info@scegliauto.com
Number of seconds to generate the page: 0.007
(c) ScegliAuto 2026 - info@scegliauto.com - Privacy policy VAT number: IT01247470535 |
