
|
Do it yourself
| |||
| ||||


Model: Honda Integra
This guide shows how to service the Honda IntEGRa 750. To replace the engine oil and the corresponding filter, remove the right side panel using the fixing screws. After unscrewing the filler cap, you can unscrew the drain plug for the lubricant from the left side of the scooter. On the right side, using the appropriate tool, unscrew the engine oil filter and replace it with a new one, ensuring the gasket is coated with oil for a better seal. Fill the oil reservoir to the maximum level. Check the oil level using the centre stand and the dipstick provided in the reservoir cap. To change the air filter, you need to remove the plastic cover under the handlebars. Detach the cover with a bit of pressure; use a screwdriver to unscrew the fixing screws of the filter block from which you can replace the filter element. Reassemble the housing and replace the protective plastic. The replacement of the brake pads is done as follows. For the front caliper, unscrew the two 12 mm bolts that hold the caliper and slide it off. Use a screwdriver to push the pistons fully back and unscrew the pin located at the bottom of the caliper. Replace with new pads and reattach the caliper to the disc. For the rear brake, unscrew the fixing bolt. The procedure for replacing the rear pads is identical to that of the front.
Updated on 23 April 2026 by ScegliAuto
Video tutorial
Related tutorials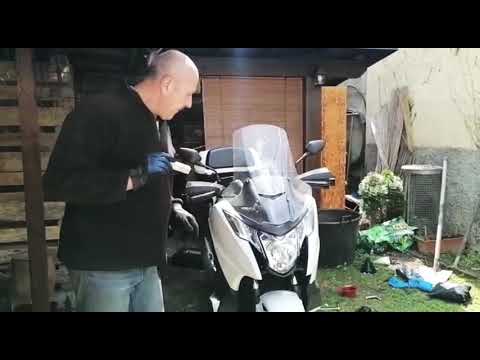
Integra
To replace the spark plugs on the Honda Integra 750, remove the 8 screws securing the panel located just behind the front wheel fork. Once the panel …

Integra
Below are the instructions on how to remove and replace the headlight bulb on the Honda Integra 750. First, move to the front and start by removing t…

Integra
See how to replace the seat lift piston on a Honda Integra 750: this is a component that tends to wear over time, losing the ability to keep the top …
|
How do you adjust the headlights of the Kymco Xciting S 400i?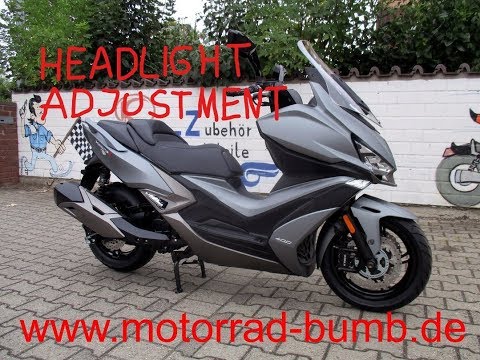
In order to adjust the headlights of the Kymco Xciting S 400i, you need to completely remove the panel that is located under the front headlight and on the top of the front fork. Once this panel has been removed, you will be able to locate the bolts underneath that allow you to adjust the angle of the headlight. By tightening this bolt, you will notice that the beam of light from the headlight will rise; conversely, by loosening the bolt, you will notice that the beam will lower. Once the adjustment is complete, you can reinsert the panel. by ScegliAuto More videos
|
|
For advertising on this site Write to info@scegliauto.com
ScegliAuto is not responsible for any inaccuracy of the data in the lists. To report any inaccuracy or your business (if you own the business in question), please write to info@scegliauto.com
Number of seconds to generate the page: 0.031
(c) ScegliAuto 2026 - info@scegliauto.com - Privacy policy VAT number: IT01247470535 |
