
|
Do it yourself
| |||
| ||||


Model: Honda Pcx 125
This guide outlines the steps to remove and replace the variator of the Honda PCX 125 scooter. First, place the scooter on its centre stand and begin by removing the clutch cover by unscrewing the fastening screws. Next, unscrew the central nut of the fan and the one on the clutch bell, then remove the belt and the variator, as shown in the video. Now, install the new variator with the new rollers, reassemble the belt and the entire transmission, and finally refit the cover!
Updated on 5 August 2026 by ScegliAuto
Video tutorial
Related tutorials
Pcx 125
In this video tutorial, see how to disassemble and replace the variator on the Honda PCX 125 scooter, as well as on all other variable scooters, in s…

Pcx 125
Today, you will see the instructions that will allow you to disassemble and replace the transmission belt of the Honda PCX 125 scooter. First, place …
Pcx 125
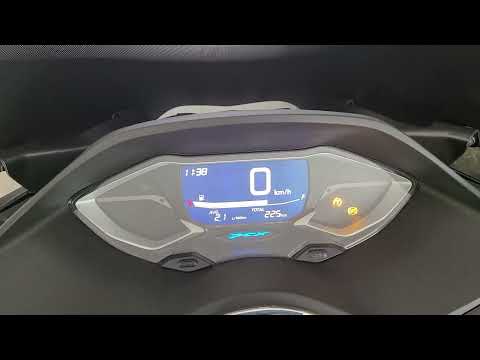
To manually change the time displayed on the instrument panel of your Honda PCX 125, it only takes a few seconds. Once you have placed your Honda PCX…
|
How to replace the air filter in the Herald Classic 125?
In this tutorial, you will see how to replace the air filter in the Herald Classic 125, a very simple and quick operation. First, position yourself on the left side of the motorcycle, then grab the panel located under the seat, pull it towards you, and detach it from the frame. Next, unscrew the three fastening screws of the airbox cover, remove it, and take out the old filter from its housing. At this point, remove any dirt residue present, insert the replacement filter, and reassemble everything by following the reverse procedure. by ScegliAuto More videos
|
|
For advertising on this site Write to info@scegliauto.com
ScegliAuto is not responsible for any inaccuracy of the data in the lists. To report any inaccuracy or your business (if you own the business in question), please write to info@scegliauto.com
Number of seconds to generate the page: 0.007
(c) ScegliAuto 2026 - info@scegliauto.com - Privacy policy VAT number: IT01247470535 |
