
|
Do it yourself
| |||
| ||||


Dismantling the Rear Electric Window Regulator
Model: Honda Civic
MK 7
- Years 2001-2006
If you need to dismantle the electric window regulator, follow these images to understand how to do it. First, remove the cover behind the door opening lever and that of the armrest. Now unscrew the screws and remove the shell of the door opening lever. Then start unclipping the clips around the panel. Once the panel is detached, disconnect the electrical connector of the window regulator control. Carefully peel back the protective film on the inner sheet metal of the door. Lower the glass so you can unscrew the two supporting screws. Reposition the glass at the top, securing it with tape. Disconnect the connector as shown and unscrew the indicated screws. At this point, extract the motor and the window regulator guide. During reassembly, it is advisable to first insert the motor, securing it with a screw, and then reinstall the guide on which the window slides. Lower the glass, securing it to the support. Reconnect the motor's electrical cables, reapply the protective film, and reassemble the panel. Car model: Honda Civic Year: 2003
Required tools: Flat screwdriver, cross screwdriver, panel removal tool, 10 mm socket or ratchet with extension, bodywork tape.
Updated on 11 February 2026 by ScegliAuto
Video tutorial
Related tutorials
Honda Civic
(2006-2012 /
MK 8)
In this guide, discover how to remove and replace the front window regulator motor on the eighth generation Honda Civic by following these simple ste…
Honda Civic
(1995-2001 /
MK 6)
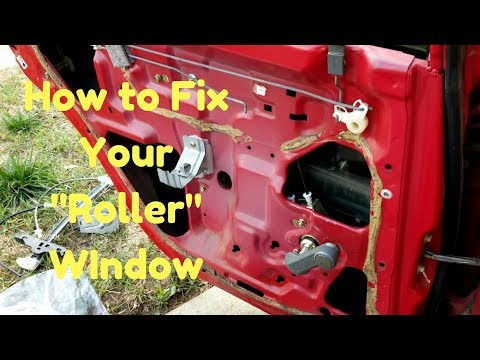
Before you can start, open the door of your Honda Civic. Begin by inserting a thin but sturdy tool into the gap between the window winder handle and …
Honda Civic
(2016-2021 /
MK 10)
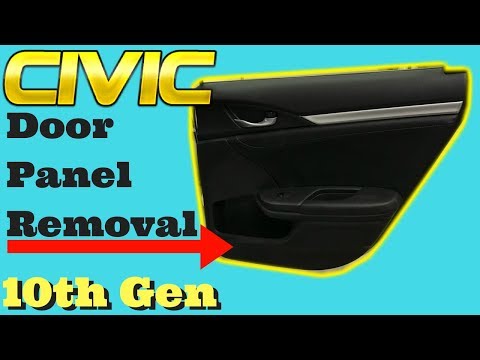
Today, in this video tutorial, you will see how to remove the rear door panel on a 2016 Honda Civic. First, open the rear door and remove the triangu…
Other guides you may be interested in
|
How to Open a Stuck Boot on the Peugeot 407?
On the Peugeot 407, the boot may become stuck, possibly due to a problem with the control button or the lock actuator. In such cases, you can perform an emergency opening by following the simple procedure shown in this tutorial. First, open the rear doors, then lower the seat back by operating the release lever. Next, go inside the boot, locate the lock, and manually operate it using a flathead screwdriver. The boot will then be free to open. by ScegliAuto More videos
|
|
For advertising on this site Write to info@scegliauto.com
ScegliAuto is not responsible for any inaccuracy of the data in the lists. To report any inaccuracy or your business (if you own the business in question), please write to info@scegliauto.com
Number of seconds to generate the page: 0.497
(c) ScegliAuto 2026 - info@scegliauto.com - Privacy policy VAT number: IT01247470535 |
