
|
Do it yourself
| |||
| ||||


How to repair a sun visor on a Honda Civic MK8
Model: Honda Civic
MK 8
- Years 2006-2012 In this video we see how to repair the sun visor of a Honda Civic MK8, from the production years 2006/2012. This visor does not want to stay up, and it is very annoying because it lowers during driving. Our youtuber has an easy, quick, and low-cost solution. We need to find a large binder clip, the kind used to hold many papers in offices; we flip one side, and after releasing the visor from the inside, we insert the clip with the flipped side into the visor from the side that does not hold (presumably the one near the driver's door), then we lift the visor and voilà, the visor remains perfectly in position; it can be raised and lowered.
Posted on 20 February 2024 by ScegliAuto
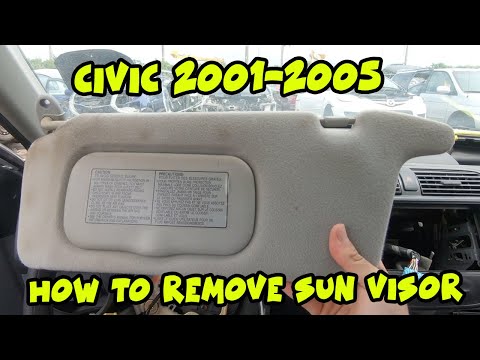 How to remove the sun visor of a Honda Civic
Honda Civic (2001-2006 / MK 7) Before we can begin, we will have to go and sit in the driver's seat of our Honda Civic. So let's start by disengaging and removing the covers of the  How do you replace the Honda Civic's sun visor?
Honda Civic (2006-2012 / MK 8) In order to replace the Honda Civic's sun visor, you need to remove the pin located on the inside of the visor, simply by pulling it out. Subsequentl 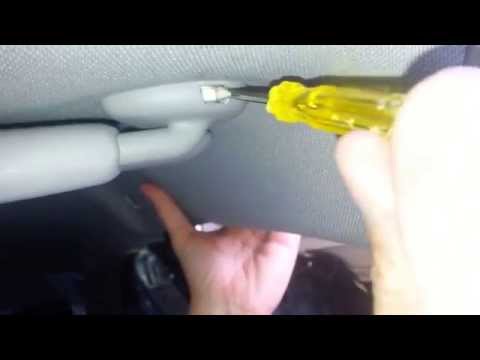 Replacement sun visor on Honda Civic
Honda Civic (2012-2015 / MK 9) Open the sun visor as if you were using it and with a small flat screwdriver move, by rotating it, the hook that fixes the flap to the roof of the ca Other guides that may interest you
|
How to deactivate the safe lock on a Volkswagen Golf.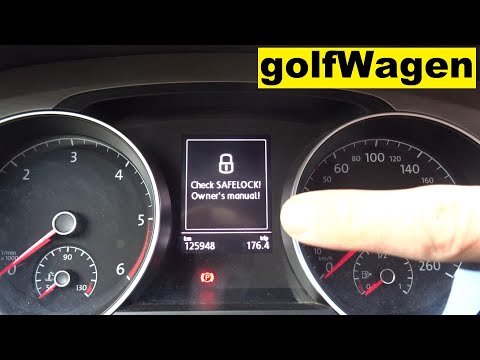
The safe lock is indeed an anti-theft system that prevents thieves from accessing the car. This device locks the doors, both externally and internally, when the driver activates the central locking remote control after leaving the vehicle. To permanently disable it, it is necessary to use a diagnostic program such as VCDS that we will connect to the vehicle through the ODBII port. Then wait for the connection and recognition of the control unit and then select the blocks present and locate the safe lock to disable it. And the job will be completed. by ScegliAuto More videos
|
|
For advertising on this site Write to info@scegliauto.com
ScegliAuto is not responsible for any inaccuracy of the data in the lists. To report any inaccuracy or your business (if you own the business in question), please write to info@scegliauto.com
Number of seconds to generate the page: 0.019
(c) ScegliAuto 2024 - info@scegliauto.com - Privacy Policy VAT number: IT01247470535 |