
|
Do it yourself
| |||
| ||||


|
Model: Kawasaki Ninja 300
This guide describes how to replace the engine oil and oil filter on a Kawasaki Ninja 300. Obtain 3 litres of Motul 5100 SAE 10W40 oil and an HIFLO HF303 oil filter. Position the motorcycle on the side stand. Start the engine, allow it to reach operating temperature, and then switch off. Place a container for collecting the used oil under the engine. Using a ratchet and a 17mm socket, unscrew the oil drain plug located under the engine on the right side. Allow the oil to drain and clean the plug thoroughly. Use a 65mm socket to unscrew the oil filter located at the front of the engine between the two exhaust headers. Lubricate the seal of the new filter with oil, screw it in by hand, and then tighten it a turn with the socket. Screw in the oil drain plug. Open the oil filler cap located on the right side of the engine casing. Pour in the oil, referring to the inspection hole at the bottom of the casing. Start the engine for a minute and switch off. Check the oil level again.
Updated on 10 March 2026 by ScegliAuto
This video is currently unavailable
Related tutorials
Ninja 300
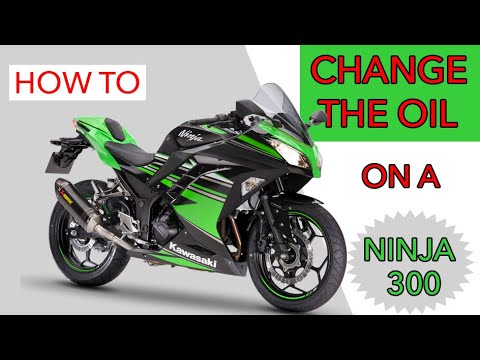
In this tutorial we can see how to replace the engine oil in the Kawasaki Ninja 300, an extremely simple and quick operation. First of all, make sure…
Ninja 300
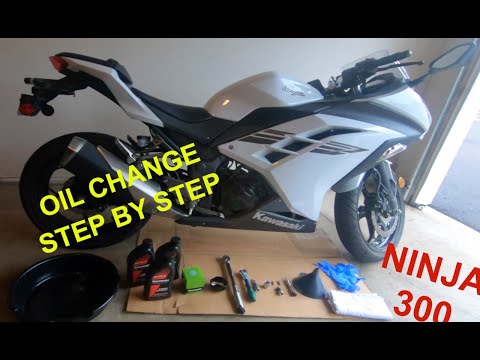
Changing the engine oil in a Kawasaki Ninja 300, as shown in this tutorial, is an extremely simple and quick operation. First, wait for the engine to…
Ninja 300
In this tutorial, see how to change the engine oil in the Kawasaki Ninja 300, a very simple and quick operation to perform every 12 months. First, wa…
|
How to Replace the Air Filter on a Harley Davidson Dyna?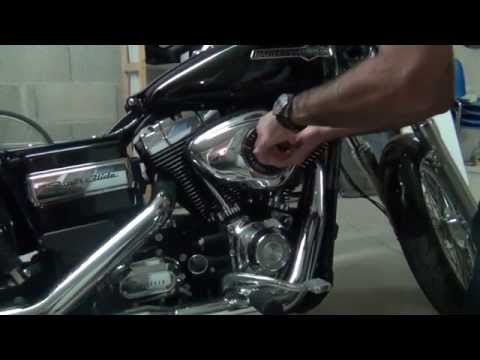
To replace the air filter on a Harley Davidson Dyna, loosen the screws securing the cover located on the right side of the bike, just below the fuel tank. Once the cover is removed, you will locate the filter underneath: it must be removed from its housing by unscrewing the fastening screws and sliding it out from its compartment. After the old filter has been removed, position the new replacement part, securing it in place with the screws and covering everything with the cover. by ScegliAuto More videos
|
|
For advertising on this site Write to info@scegliauto.com
ScegliAuto is not responsible for any inaccuracy of the data in the lists. To report any inaccuracy or your business (if you own the business in question), please write to info@scegliauto.com
Number of seconds to generate the page: 0.008
(c) ScegliAuto 2026 - info@scegliauto.com - Privacy policy VAT number: IT01247470535 |
