
|
Do it yourself
| |||
| ||||


Model: Kawasaki Exhaust J1300
The same principles apply to motorcycles as we do for maintenance operations on cars. Therefore, to ensure the operator's safety, it is advisable to position your Kawasaki Exhaust J1300 securely and stably, allowing you to work safely. At this point, using the appropriate spanner, unscrew the bolt that secures the exhaust connector beneath the footrest, which connects to the engine. Take the end part of the exhaust, insert the silencer, and after fitting the various elements on the end, connect it to the connector linked to the engine. Tighten the various bolts that secure it in position, locking the connection between the connector and the exhaust, and you're done!
Updated on 10 April 2026 by ScegliAuto
Video tutorial
Related tutorials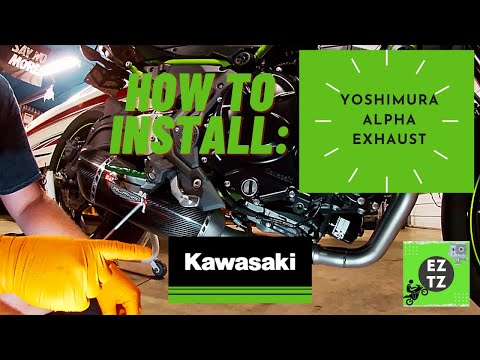
Z 650
To replace the exhaust on a Kawasaki Z650, loosen the screws that secure it to the corresponding supports located on the right side of the bike near …

Ninja 250
To replace the exhaust on the Kawasaki Ninja 250R, first loosen the bolts securing the right side panel of the bike, located at the bottom where the …
Z 650
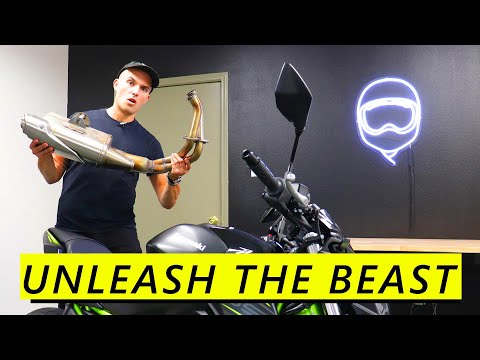
To replace the exhaust on the Kawasaki Z650, loosen the bolts securing it to the corresponding supports located on the right side of the bike near th…
|
How do you replace the headlight bulb of the Sym Citycom 300?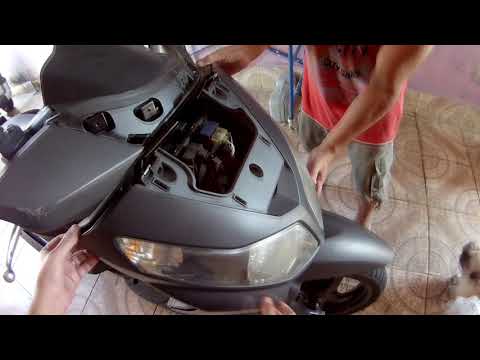
In order to replace the headlight bulb of the Sym Citycom 300, you need to loosen the screws that secure the panels located at the front of the motorcycle fairing: once the fastening screws of these panels have been loosened, you can unscrew those on the inside of the front fairing, so that the latter can be removed from its seat. Now it will be possible to proceed by unscrewing the screws that secure the corresponding headlight, disconnecting its connector and removing the bulb inside; in this way you can reinstall the removed panels. by ScegliAuto More videos
|
|
For advertising on this site Write to info@scegliauto.com
ScegliAuto is not responsible for any inaccuracy of the data in the lists. To report any inaccuracy or your business (if you own the business in question), please write to info@scegliauto.com
Number of seconds to generate the page: 0.007
(c) ScegliAuto 2026 - info@scegliauto.com - Privacy policy VAT number: IT01247470535 |
