
|
Do it yourself
| |||
| ||||


How to change the halogen fog light bulb of a Kia Sportage MK4 with a LED one
Model: Kia Sportage
QL, MK 4
- Years 2016-2022
In this video, we will see how to change the halogen fog light bulb with an LED one on a Kia Sportage MK4: it is easily accessed from the wheel well, so we need to turn the wheel all the way in to have more space: we remove the four clips inside the wheel well itself. We put our hand inside and disconnect the old halogen bulb by turning it a quarter turn counterclockwise and then pulling it out. We take the new LED bulb and insert it, turning it a quarter turn clockwise. Remember not to touch it with bare hands; this also applies to LEDs! We can close the wheel well and move to the other side. Remember that even though replacing halogens with LEDs is not explicitly prohibited, it is essential to ensure that the chosen bulbs are compatible with your vehicle and produce a correct beam of light to avoid homologation and safety issues.
Posted on 13 February 2025 by ScegliAuto
Video tutorial
Related tutorials
Kia Sportage
(2016-2022 /
QL, MK 4)
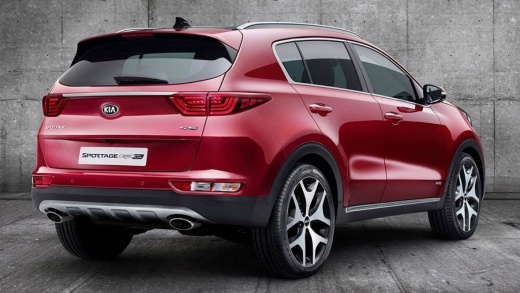
In this video we see how to change the fog light bulb of the Kia Sportage MK4: it is an operation that we must do from the front wheel arch, which mu…
Kia Sportage
(2016-2022 /
QL, MK 4)
How to replace the damaged number plate bulb on your Kia Sportage. Use a screwdriver or plastic lever to remove the number plate light fitting locate…

Kia Sportage
(2016-2022 /
QL, MK 4)
When a headlight bulb of the blinding headlight of the Kia Sportage burns out, we must replace it as soon as possible in order to travel safely and a…
Other guides you may be interested in
|
How to replace the horn on a Renault Duster - Dacia Duster
Today's main instructions will show you the procedure for removing and replacing the horn or sound signal on the Renault Duster, as well as the Dacia Duster. First, open the bonnet of the vehicle and start removing the front bumper by unscrewing all the fixing screws; you will find the horn right in front of the radiator, as shown in the video. At this point, disconnect the electrical connector and unscrew the bracket screw to remove and replace the horn with the new one; finally, reassemble the front bumper! by ScegliAuto More videos
|
|
For advertising on this site Write to info@scegliauto.com
ScegliAuto is not responsible for any inaccuracy of the data in the lists. To report any inaccuracy or your business (if you own the business in question), please write to info@scegliauto.com
Number of seconds to generate the page: 0.729
(c) ScegliAuto 2026 - info@scegliauto.com - Privacy policy VAT number: IT01247470535 |
