
|
Do it yourself
| |||
| ||||


Video tutorial
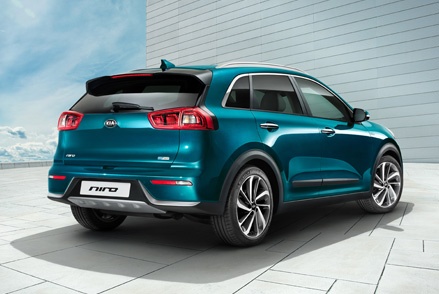
In this video, we can see where the fuse boxes of the KIA Niro are located and their respective diagrams, which is useful in case we need to check the fuses of a malfunctioning device. The first box is located inside the cabin, behind the small door situated in the lower left area of the dashboard on the driver's side. The second box, on the other hand, is positioned inside the engine compartment, protected by the black plastic cover located behind the left headlight. Make sure to replace any blown fuses with replacements that have equivalent specifications and always work with the vehicle turned off.
Posted on 24 December 2025 by ScegliAuto
Related tutorials
Kia Niro
(2016-2023 /
MK 1)
In this video, you can see where the fuse boxes are located for the KIA Niro and the corresponding diagrams to consult if you need to check the fuses…

Kia Niro
(2021-2026 /
SG2)
This video shows where the fuse boxes are located in the KIA Niro and their respective diagrams, useful if you need to check the fuses of a malfuncti…

Kia Niro
(2016-2023 /
MK 1)
In this video we can see where the fuse boxes of the KIA Niro are located and what the respective diagrams are, to consult in case we need to check t…
ScegliAuto offers an extensive international collection of automotive tutorials available in 12 languages. Each guide combines instructional videos with original explanations written by experienced human editors, along with information about the car models covered.
Other guides you may be interested in
|
How to Remove the Cabin Fan in the Nissan Qashqai?
The cabin fan in any vehicle, specifically the Nissan Qashqai this time, may fail for various reasons: blown fuse, shorted wire, but the most serious issue is a broken fan. This means you need to remove it and check it, and if necessary, replace it. In this vehicle, it is located in the footwell area, so you will need to remove the carpet covering of the centre tunnel, then carefully navigate through the various wires present, and finally, once located, disconnect the electrical wires supplying it and unscrew the fixing screws. by ScegliAuto More videos
|
|
For advertising on this site Write to info@scegliauto.com
ScegliAuto is not responsible for any inaccuracy of the data in the lists. To report any inaccuracy or your business (if you own the business in question), please write to info@scegliauto.com
Number of seconds to generate the page: 0.114
(c) ScegliAuto 2026 - info@scegliauto.com - Privacy policy - About us VAT number: IT01247470535 |
