
|
Do it yourself
| |||
| ||||


Service Reset Procedure for a 2018 Range Rover
Model: Land Rover Range Rover
MK 2
- Years 2012-2021
In this video, you will see how to reset the service light on a 2018 Range Rover HSE 3.0 Supercharged: the reset is done using a pedal combination, without diagnostic tools. Open the hood and the driver's door, then insert the key (or press the start button without pressing the brake). With the ignition on, press and hold the brake pedal and the accelerator pedal simultaneously for about 10 to 15 seconds. The display will show "service resetting". Keep them pressed until the message "service counter reset" appears. Release both pedals, turn off the vehicle, and then restart it normally. The new due date for the next service will be shown in the onboard computer under "Vehicle info/Next service".
Posted on 1 April 2026 by ScegliAuto
Video tutorial
Related tutorials
Land Rover Range Rover
(2002-2012 /
L322, MK 3)
The steps in this guide will allow you to reset the service light for the routine maintenance oil change on the Land Rover Range Rover Sport. First, …

Land Rover Range Rover
(2012-2021 /
MK 2)
In today's article, we show you how to reset the maintenance light on the Range Rover Sport, a procedure we recommend only in case the reset is not d…
Land Rover Range Rover
(2012-2021 /
MK 2)
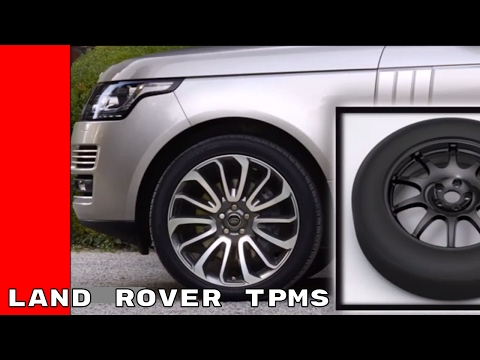
In this guide, discover the procedure necessary to reset the tire pressure monitoring system (TPMS) light on the Land Rover Range Rover, including th…
Other guides you may be interested in
|
Frequently Asked QuestionsHow to Replace the External Wing Mirror on a Ford C MAX
In the event of a breakage, it will be necessary to replace the external wing mirror on the 2011 Ford C MAX. This operation is easily performed independently. Start by removing the internal cover of the mirror with a plastic lever. Then, use a socket wrench to remove the securing pins. Once the pins are removed, you can take off the mirror, but not before disconnecting the power connectors. Then proceed to fit the new mirror. First, connect the connectors and then secure the mirror to its housing with the pins. Refit the plastic cover and test the operation of the electric mirror using the controls. by ScegliAuto More videos
|

|
For advertising on this site Write to info@scegliauto.com
ScegliAuto is not responsible for any inaccuracy of the data in the lists. To report any inaccuracy or your business (if you own the business in question), please write to info@scegliauto.com
Number of seconds to generate the page: 0.127
(c) ScegliAuto 2026 - info@scegliauto.com - Privacy policy VAT number: IT01247470535 |
