
|
Do it yourself
| |||
| ||||


How to Adjust the Throttle Cable on Hyundai i10 MK1
Model: Hyundai I10
PA, MK 1
- Years 2007-2013
Adjusting the throttle cable on the Hyundai i10 is a quick task that mainly applies to the first generation (model PA, produced from 2007 to 2013). Later generations use an electronic system (Drive-by-Wire) that does not have a physical cable and cannot be adjusted manually. Locate the throttle body under the bonnet: it is at the end of the black plastic duct that comes from the air filter. Nearby, you will see the steel cable ending on a metallic semicircle, which is the throttle pulley. Loosen the locking nuts and adjust the tension by turning the nut to move the cable sheath away from the bracket. Do not tighten it fully. There should always be a small amount of play (about 1-3 mm of flex when pressing the cable with your finger). If it is too tight, the throttle will remain slightly open, causing the car to idle high. While holding the adjustment nut, tighten the outer lock nut against the bracket to secure everything.
Posted on 18 June 2026 by ScegliAuto
Video tutorial
Related tutorials
Hyundai I10
(2007-2013 /
PA, MK 1)
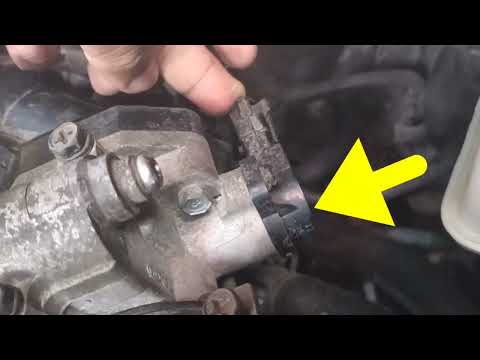
Below are the main instructions that will allow you to adjust the clutch cable on the Hyundai I10. First, open the bonnet of the vehicle and start lo…
Hyundai I10
(2007-2013 /
PA, MK 1)
In this brief and simple guide, we will go through the steps to remove and replace the throttle position sensor on a Hyundai I10. First, open the bon…

Hyundai I10
(2007-2013 /
PA, MK 1)
Below are the main steps that will allow you to remove and replace the clutch cable of the Hyundai i10, following these simple instructions. First, o…
Other guides you may be interested in
|
How to Repair the Key Spring of the Peugeot 207?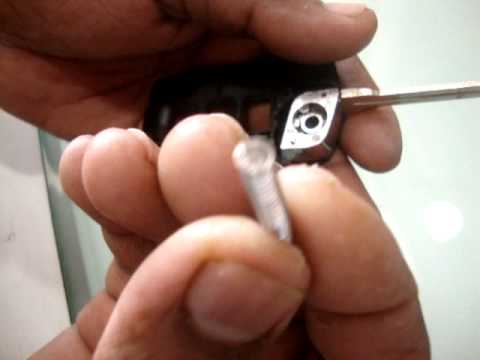
Over time, frequent use of the key's flip mechanism in the vehicle, dozens of times a day, inevitably leads to wear of the internal spring. As shown in this video, replacing the spring is quite simple and takes little time. After opening the casing halfway, first position the key, then the spring housing, and finally insert the spring into the previously mentioned housing. Close the casing by rotating it clockwise, ensuring all components fit perfectly, and test the key's flip mechanism. by ScegliAuto More videos
|

|
For advertising on this site Write to info@scegliauto.com
ScegliAuto is not responsible for any inaccuracy of the data in the lists. To report any inaccuracy or your business (if you own the business in question), please write to info@scegliauto.com
Number of seconds to generate the page: 0.208
(c) ScegliAuto 2026 - info@scegliauto.com - Privacy policy VAT number: IT01247470535 |
