
|
Do it yourself
| |||
| ||||


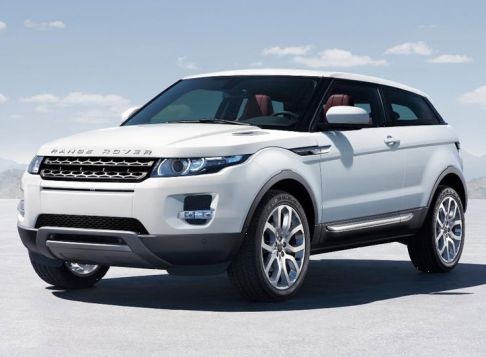
Installing LED Interior Lights in Range Rover Evoque
Model: Land Rover Evoque
L538, MK 1
- Years:
2011, 2012, 2013, 2014, 2015, 2016, 2017, 2018
Video tutorial
Replace the original interior bulbs with LED types, possibly choosing a specific color like blue, to give your car's interior a more modern and personalized look. Start by removing the cover of the front dome light, located near the rearview mirror. It is recommended to use a plastic trim tool instead of a screwdriver tip to avoid damage. Once the dome light is removed, pull out the original bulbs (T10 base) and insert the LED ones. Ensure they light up correctly and reposition the dome light. Follow the same procedure for the other bulbs.
Updated on 22 February 2026 by ScegliAuto
Related tutorials
Land Rover Evoque
(2018-2026 /
MK 2, L551)
Learn how to enable and disable the automatic interior lights on a Range Rover Evoque (the procedure is valid for many generations of the vehicle). T…

Land Rover Evoque
(2011-2018 /
L538, MK 1)
To replace the accessory belt on a Land Rover Range Rover Evoque, first lift the vehicle on a lift. Remove the right front wheel to easily access the…

Land Rover Evoque
(2011-2018 /
L538, MK 1)
In this new mini guide, we will help you complete the procedure that allows you to manually reset the service light on the instrument panel of your f…
Other guides you may be interested in
|
How to enter the radio code in the Opel Zafira?
In the Opel Zafira, it may happen that the radio locks and consequently requests the appropriate security code, especially after disconnecting or replacing the battery. The code can be found in the documents provided at purchase or through one of the various online recovery services. Once obtained, enter it by following the procedure shown in this tutorial. First, switch on the instrument panel, then press and hold both the "AS" button and the left knob for about 5 seconds. Next, enter the first digit by repeatedly pressing the "1" button, continue with the next 3 buttons, and save the setting by pressing the "AS" button again. by ScegliAuto More videos
|
|
For advertising on this site Write to info@scegliauto.com
ScegliAuto is not responsible for any inaccuracy of the data in the lists. To report any inaccuracy or your business (if you own the business in question), please write to info@scegliauto.com
Number of seconds to generate the page: 0.095
(c) ScegliAuto 2026 - info@scegliauto.com - Privacy policy VAT number: IT01247470535 |
