
|
Do it yourself
| |||
| ||||


How to remove the rearview mirror of the Mazda CX5
Model: Mazda CX-5
MK 2
- Years 2017-2024
In this video we will see how to remove the rearview mirror of the Mazda C5-5: we will necessarily have to remove the inner panel of the door, but it is not a complex job. We will start by removing the protective plastic from the inner handle: underneath we find a screw to remove, and another one under the rubber protection of the handle. Now we can start removing the door panel, starting from the inner wall, then from the bottom, carefully pulling away the clips and then from the outer part. When all the clips have been removed, push the panel upwards; do not disconnect the connectors, just lean it. Now we go towards the inner part of the rearview mirror, making it come out with a plastic spatula. This will allow us to remove the external mirror, unscrewing three fixing bolts, disconnecting the electrical connector and pushing back a white tab. We can find the new mirror on autoparts-rdc.com with the code 8050049745785 at a price of 169.80 euros + 7.00 euros for shipping. Reconnect the electrical connector, screw back the three bolts and snap the tab back. Put the cap back in place and then all that remains is to put the inner panel back in place, pressing firmly on the sides to reconnect the clips and then screw back the two screws, of the handle and the internal lock.
Posted on 8 August 2025 by ScegliAuto
Video tutorial
Related tutorials
Mazda CX-5
(2012-2017 /
MK 1, KE)
In the video guide presented here, in addition to understanding how to disassemble and assemble the adjustable external rearview mirror of a Mazda CX…

Mazda CX-5
(2017-2024 /
MK 2)
Wanting to remove devices from the list of Bluetooth devices paired with the Mazda CX5 that we no longer use, we sit in the driver's seat and turn on…
Mazda CX-5
(2012-2017 /
MK 1, KE)
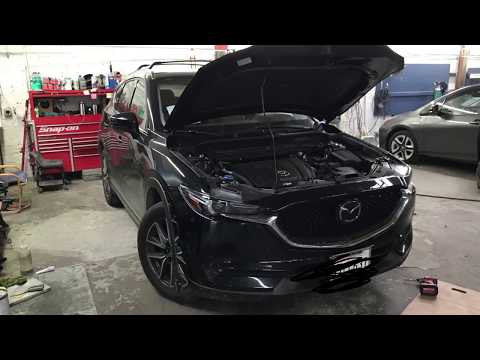
This guide shows how to remove the front bumper of the Mazda CX5 Mk1. The first step is to remove the plastic cover of the engine bay by detaching th…
Other guides you may be interested in
|
How to Replace the External Wing Mirror on a Ford C MAX
In the event of a breakage, it will be necessary to replace the external wing mirror on the 2011 Ford C MAX. This operation is easily performed independently. Start by removing the internal cover of the mirror with a plastic lever. Then, use a socket wrench to remove the securing pins. Once the pins are removed, you can take off the mirror, but not before disconnecting the power connectors. Then proceed to fit the new mirror. First, connect the connectors and then secure the mirror to its housing with the pins. Refit the plastic cover and test the operation of the electric mirror using the controls. by ScegliAuto More videos
|
|
For advertising on this site Write to info@scegliauto.com
ScegliAuto is not responsible for any inaccuracy of the data in the lists. To report any inaccuracy or your business (if you own the business in question), please write to info@scegliauto.com
Number of seconds to generate the page: 0.622
(c) ScegliAuto 2026 - info@scegliauto.com - Privacy policy VAT number: IT01247470535 |
