
|
Do it yourself
| |||
| ||||



How to Reset the Service Light on a Mazda CX-9
Model: Mazda Cx 9
TC
- Years:
2016, 2017, 2018, 2019, 2020, 2021, 2022, 2023, 2024
Video tutorial
This video tutorial shows how to reset the service light on a Mazda CX-9. The operation is not difficult and does not take much time. First, get in the vehicle and press the start/stop button once to turn on the instrument cluster without starting the engine. Next, use the controls located in the center of the car, near the gear shifter. Rotate the knob to select the following options on the display in order: application, then vehicle status monitor, and then maintenance. Now select scheduled and finally reset. Go back in the settings and turn off the instrument cluster; then press the button above the odometer and hold it for a few seconds while turning the cluster back on. Release the button and turn off the cluster again. To verify the outcome of the procedure, simply turn the instrument cluster back on.
Updated on 19 July 2026 by ScegliAuto
Related tutorials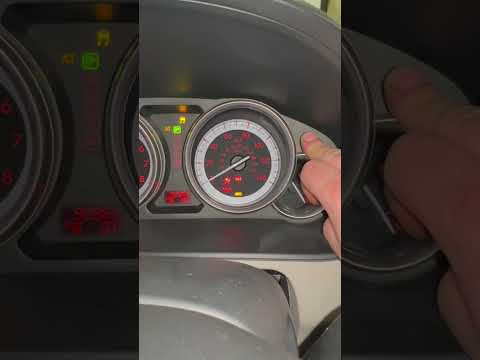
Mazda Cx 9
(2007-2015 /
TB)
If the oil warning light continues to illuminate on the instrument cluster of your first-generation Mazda CX-9 (2010) despite a recent oil change, yo…
Mazda Cx 9
(2007-2015 /
TB)
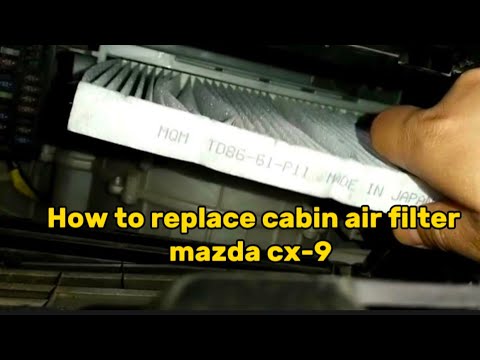
With this guide, you will finally complete the replacement of the cabin air filter in your first-generation 2011 Mazda CX-9 correctly. First, turn of…

Mazda Cx 9
(2016-2024 /
TC)
In this new guide, we will explain step by step how you can manually reset the tire pressure warning light on the instrument panel display of your 20…
Other guides you may be interested in
|
How to Replace the Glow Plugs in the Fiat Ducato 2.3 Multijet?
Glow plugs, as the name suggests, raise the temperature of the engine in diesel vehicles to allow for easier starting. The manufacturer, in this case, Fiat for the Ducato 2.3 Multijet, specifies how often they should be replaced, and a warning light will illuminate when it's time. This work is carried out under the bonnet. First, remove the upper engine cover, then lift the coil and, using a socket wrench of the appropriate size, unscrew the glow plug to remove it from the base, followed by installing the new one. by ScegliAuto More videos
|
|
For advertising on this site Write to info@scegliauto.com
ScegliAuto is not responsible for any inaccuracy of the data in the lists. To report any inaccuracy or your business (if you own the business in question), please write to info@scegliauto.com
Number of seconds to generate the page: 0.031
(c) ScegliAuto 2026 - info@scegliauto.com - Privacy policy VAT number: IT01247470535 |
