
|
Do it yourself
| |||
| ||||


Ventilation Duct Removal Instructions
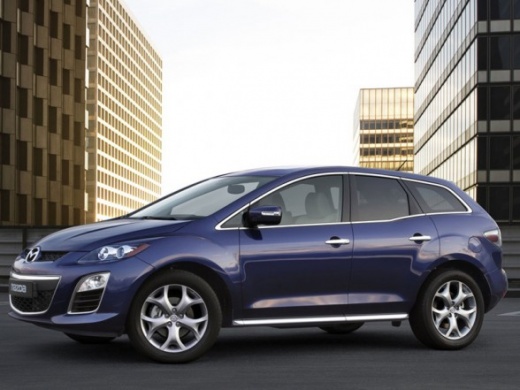
Model: Mazda Cx 7
MK 1
- Years 2006-2012
The ventilation ducts located at the central console are integrated into the frame that covers the console itself. To remove them, disengage the frame by prying along the edges, taking care not to damage it or break the related pressure clips. Once the frame is removed, the ventilation ducts will come away together, allowing access to the rear where the fixing screws are located. Unscrew the screws around the perimeter to complete the removal of the ventilation ducts and identify the replacement part code.
Updated on 17 February 2026 by ScegliAuto
Video tutorial
Related tutorials
Mazda Cx 7
(2006-2012 /
MK 1)
To remove the front bumper, start by opening the front bonnet and extracting the clips at the ends of the grille. Then move on to the clips that secu…
Mazda Cx 7
(2006-2012 /
MK 1)
Removing the rear light on this car model is quite simple: once the rear bonnet is open, locate the cap on the internal trim of the boot, positioned …

Mazda Cx 7
(2006-2012 /
MK 1)
To remove the front bumper beam, you must first take off the front bumper: open the front bonnet and remove the clips by extracting the central pin a…
Other guides you may be interested in
|
How to Change the Solenoid Bleed Valve on a Mazda-6
Open the bonnet and secure it. Use pliers to remove the metal clamps from the hoses in the engine bay, then remove the valve from both ends and disconnect the power connector by hand. After comparing the damaged valve with the new one, fit it onto the hoses in the engine bay, securely tighten it with the metal clamps, and reconnect the connector. Test the car to ensure it is functioning correctly. by ScegliAuto More videos
|
|
For advertising on this site Write to info@scegliauto.com
ScegliAuto is not responsible for any inaccuracy of the data in the lists. To report any inaccuracy or your business (if you own the business in question), please write to info@scegliauto.com
Number of seconds to generate the page: 0.044
(c) ScegliAuto 2026 - info@scegliauto.com - Privacy policy VAT number: IT01247470535 |