
|
Do it yourself
| |||
| ||||


Replacing a Faulty Car Radio with a New Model
Model: Mercedes Classe C
W202
- Years:
1993, 1994, 1995, 1996, 1997, 1998, 1999, 2000
This video is currently unavailable
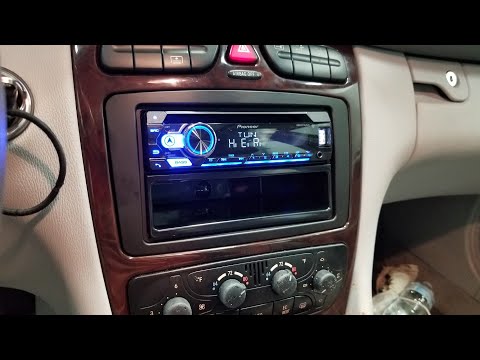
Remove the plastic trim and take off the front panel of the car radio. Using the two special tools designed for this purpose, insert them into the slots beside the radio to release the retaining springs and pull out the complete console. Then disconnect the electrical wiring connectors. Remove the packaging screws from the new radio. Take out the old removable support and install the new radio's removable support by pressing the metal tabs outward to secure it. Connect the original connectors and wire the radio following the instructions included with the kit to make the necessary circuit modifications correctly. Connect all the new connectors to the back of the radio that you will place in the new housing, being careful not to pinch any wires. Turn on the radio and check that all the new features are working perfectly.
Updated on 3 February 2026 by ScegliAuto
Related tutorials
Mercedes Classe C
(2007-2013 /
W204)
How do you remove the radio from a C-Class? Let's see how to take it out from inside the dashboard. Open the glove compartment above the dashboard, r…

Mercedes Classe C
(2007-2013 /
W204)
Want to replace the radio in your Mercedes C? Enter the cabin and let's see how to remove the radio. Remove the air vents located above the radio usi…
Mercedes Classe C
(2000-2007 /
W203)
How to remove the radio from a Mercedes C-Class? Let's see how to take off the trim pieces to extract the radio. Remove the shift knob trim using a p…
ScegliAuto offers an extensive international collection of automotive tutorials available in 12 languages. Each guide combines instructional videos with original explanations written by experienced human editors, along with information about the car models covered.
Other guides you may be interested in |
How to Reset the Tyre Pressure Warning Light in the Suzuki Swift?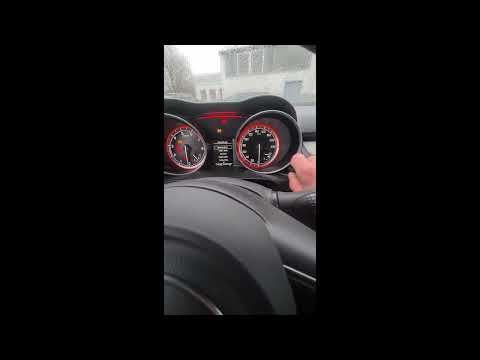
To reset the tyre pressure warning light in the Suzuki Swift, turn on the ignition, then navigate through the menu using the button located on the right side: this button should be rotated to locate the options displayed. You will need to select the option indicating tyre pressure and then select the "Reset" option: this way, the sensors will read the new tyre pressure values. If the tyres have been inflated to the correct pressure, the light will turn off automatically. by ScegliAuto More videos
|
|
For advertising on this site Write to info@scegliauto.com
ScegliAuto is not responsible for any inaccuracy of the data in the lists. To report any inaccuracy or your business (if you own the business in question), please write to info@scegliauto.com
Number of seconds to generate the page: 0.013
(c) ScegliAuto 2026 - info@scegliauto.com - Privacy policy - About us VAT number: IT01247470535 |
