
|
Do it yourself
| |||
| ||||


The service indicator for the Mercedes Class A, how do you reset it?
Model: Mercedes Classe A
W169
- Years 2004-2012
The expiration of a car's service interval, as in the case of the Mercedes A-Class, specifically the W169 series, is highlighted by the service light, represented by a wrench icon. An oil change is always necessary, while other maintenance tasks should be checked in the owner's manual, such as the air filter, pollen filter, and others. When performing the DIY work, as shown in the video posted here, it is important not to forget to turn off this light. For those who don't know how to do it, here’s the explanation: turn on the instrument cluster, press the button located to the left of the odometer three times to access the menu, select the "Full Service" option using the directional buttons on the steering wheel, and finally choose "Service Confirmed." Procedure completed.
Posted on 24 November 2025 by ScegliAuto
Video tutorial
Related tutorials
Mercedes Classe A
(2012-2018 /
W176)
You can clear the Service light displayed on the instrument cluster of the Mercedes A-Class by turning on the ignition. Now, press and hold the OK bu…

Mercedes Classe A
(2012-2018 /
W176)
To reset the Service light on the Mercedes A-Class, turn on the ignition and navigate through the menu using the directional arrows on the steering w…
Mercedes Classe A
(2012-2018 /
W176)
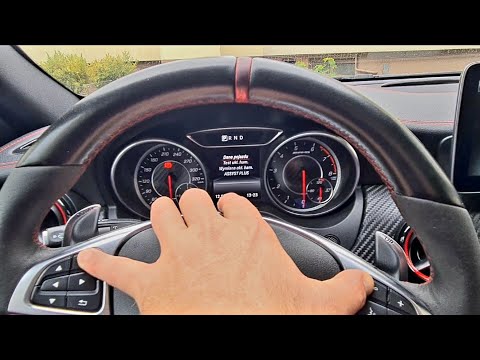
Inside the Mercedes A-Class, reset the Service light by turning on the instrument cluster and navigating through the menu using the directional arrow…
Other guides you may be interested in
|
How to Replace the External Wing Mirror on a Ford C MAX
In the event of a breakage, it will be necessary to replace the external wing mirror on the 2011 Ford C MAX. This operation is easily performed independently. Start by removing the internal cover of the mirror with a plastic lever. Then, use a socket wrench to remove the securing pins. Once the pins are removed, you can take off the mirror, but not before disconnecting the power connectors. Then proceed to fit the new mirror. First, connect the connectors and then secure the mirror to its housing with the pins. Refit the plastic cover and test the operation of the electric mirror using the controls. by ScegliAuto More videos
|

|
For advertising on this site Write to info@scegliauto.com
ScegliAuto is not responsible for any inaccuracy of the data in the lists. To report any inaccuracy or your business (if you own the business in question), please write to info@scegliauto.com
Number of seconds to generate the page: 0.169
(c) ScegliAuto 2026 - info@scegliauto.com - Privacy policy VAT number: IT01247470535 |
