
|
Do it yourself
| |||
| ||||


How to Maintain Glow Plugs on a Mercedes E-Class W211
Model: Mercedes Classe E
W211
- Years 2002-2009
In this video, you can see how to maintain the glow plugs on a Mercedes E-Class W211. Remove the engine cover and use long-nose pliers to take off the plastic cap. Then, with a 10 mm socket and extension, carefully loosen the glow plugs without applying too much force, as there is a risk of breaking them. The YouTuber removes all six glow plugs easily because he treated them with anti-seize during installation and tightened them to 14 lb-ft, which is the best torque if you want to inspect them later. This maintenance should be done periodically, approximately every 37,000 miles. Next, clean the carbon from the holes, as it can cause premature failure of the glow plugs, and ensure the threads are in good condition before reinstalling the glow plugs.
Posted on 1 February 2026 by ScegliAuto
Video tutorial
Related tutorials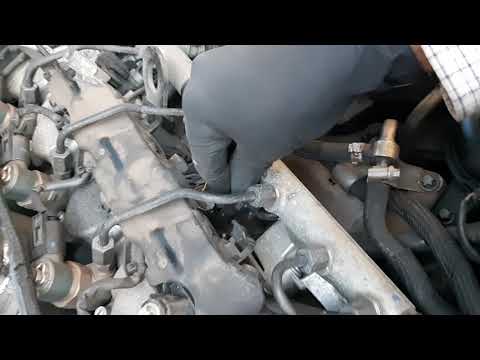
Mercedes Classe E
(2002-2009 /
W211)
Do you want to remove the glow plugs on a Mercedes E-Class and don't know how? Let's see in this detailed video how to proceed with the removal. Pull…

Mercedes Classe E
(2002-2009 /
W211)
.. can see how to reset the sunroof of a Mercedes E-Class W211 version. This operation must be done every time we change the car's starter battery, so we.. …
Mercedes Classe E
(2002-2009 /
W211)
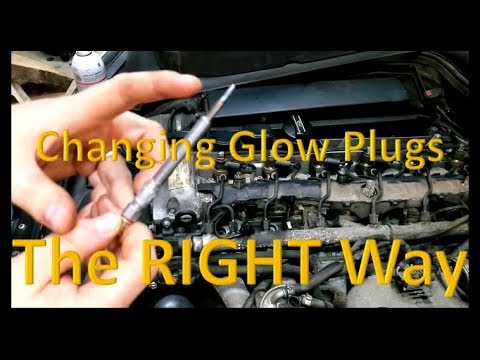
Do you want to remove the glow plugs from your Mercedes E-Class and don't know how? Let's see how to proceed with the disassembly. Pull the hood rele…
Other guides you may be interested in
|
How to Connect the Cables to the Battery of the Citroen Xsara Picasso?
In this tutorial, you will see how to connect the cables to the battery of the Citroen Xsara Picasso, useful if you need to recharge it or perform an emergency start. First, ensure the key is not inserted, then open the bonnet and move to the front of the left headlamp. Next, locate the bolt just behind the filter box and connect the positive terminal clamp to it. Now you can connect the negative terminal to any point on the chassis, such as the indicated point. Once the operation is complete, ensure you disconnect the negative first and then the positive. by ScegliAuto More videos
|
|
For advertising on this site Write to info@scegliauto.com
ScegliAuto is not responsible for any inaccuracy of the data in the lists. To report any inaccuracy or your business (if you own the business in question), please write to info@scegliauto.com
Number of seconds to generate the page: 0.197
(c) ScegliAuto 2026 - info@scegliauto.com - Privacy policy VAT number: IT01247470535 |
