
|
Do it yourself
| |||
| ||||



How to Remove the Front Headrests in the Mercedes C-Class
Model: Mercedes Classe C
W204
- Years:
2007, 2008, 2009, 2010, 2011, 2012, 2013
Video tutorial
The first step to replace the front headrests in the Mercedes C-Class is to move the seat all the way forward and tilt the backrest forward. Now, remove the key from the ignition and, sitting in the back seat aligned with the front seat, you need to remove the panel on the backrest of the front seat. Do this by pulling it at the bottom, and once the clips are detached, pull the panel downwards. At the top, you will see the two rods of the headrest inserted into their tracks. On the right rod, there is an electrical connector for the electronic control of the headrest. Disconnect the plug. On the left rod, there is a metal mechanism (not visible) that needs to be removed. To do this, partially remove the plastic trim and, using a screwdriver, also remove the metal lock. This allows you to slide the headrest out of the tracks while being careful not to damage the wires near the right rod. To install the new headrest, simply reverse the steps shown in the images.
Updated on 11 March 2026 by ScegliAuto
Related tutorials
Mercedes Classe C
(2007-2013 /
W204)
.. and replace the headrest of the Mercedes Class C, in simple steps. First, let's get inside the car and start removing the rear cover of the front.. …

Mercedes Classe C
(2007-2013 /
W204)
.. Building a headrest cover for your Mercedes C-Class is not easy, but it is possible. Good manual skills are essential, and you might need help from.. …

Mercedes Classe C
(2000-2007 /
W203)
.. starting, open the hood of your Mercedes C-Class. Begin by removing the inner fender cover near the headlight you need to take out, unscrewing the.. …
ScegliAuto offers an extensive international collection of automotive tutorials available in 12 languages. Each guide combines instructional videos with original explanations written by experienced human editors, along with information about the car models covered.
Other guides you may be interested in
|
How to Reset the Tyre Pressure Warning Light in the Suzuki Swift?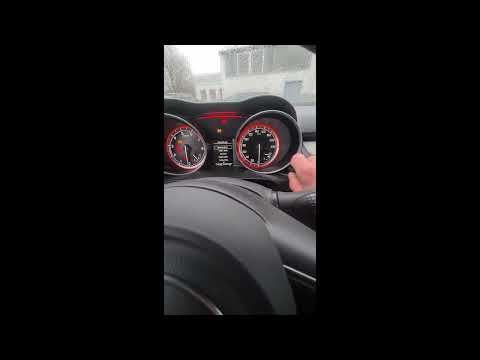
To reset the tyre pressure warning light in the Suzuki Swift, turn on the ignition, then navigate through the menu using the button located on the right side: this button should be rotated to locate the options displayed. You will need to select the option indicating tyre pressure and then select the "Reset" option: this way, the sensors will read the new tyre pressure values. If the tyres have been inflated to the correct pressure, the light will turn off automatically. by ScegliAuto More videos
|
|
For advertising on this site Write to info@scegliauto.com
ScegliAuto is not responsible for any inaccuracy of the data in the lists. To report any inaccuracy or your business (if you own the business in question), please write to info@scegliauto.com
Number of seconds to generate the page: 0.103
(c) ScegliAuto 2026 - info@scegliauto.com - Privacy policy - About us VAT number: IT01247470535 |
