
|
Do it yourself
| |||
| ||||


How to Install Dynamic Turn Signals on a Mercedes
Model: Mercedes Classe A
W176
- Years 2012-2018
Let's see how to install dynamic turn signals on a Mercedes. This procedure applies to all models. You can find the turn signals at a low price on any e-commerce site, suitable for your vehicle. First, remove the plastic cover of the mirror by pushing it inward and then upward, as shown in the video. Now, using a 10 mm Torx screwdriver and a plastic trim tool, remove the transparent part from the cover and install the new one, securing it with screws. Next, using the plastic trim tool again, remove the mirror and disconnect the electrical connector. Now, we need to remove the lower part of the mirror, where the puddle light is located, by releasing the clips underneath, which the video shows clearly; there are three clips, two on the sides and one in the center. Remove the puddle light: now insert the wire for the turn signal into the socket, which will create a white effect when opening and closing the car. It is advisable to use a connector to make disassembly easier. Now we can reassemble everything following the instructions in the video; arrange the wires so they won't be damaged by the mirror housing. Connect the electrical connector. Reinstall the mirror. Job complete.
Updated on 25 August 2026 by ScegliAuto
Video tutorial
Related tutorials
Mercedes Classe A
(2012-2018 /
W176)
To replace the dynamic turn signals on a Mercedes A-Class, use a flathead screwdriver to pry off the mirror cap. Then, detach the lower part of the c…

Mercedes Classe A
(2018-2026 /
W177)
In this video, we see how to install an ideal phone holder for Mercedes W177 but also for Mercedes CLA/GLA. We can find it on Amazon with the code B0…
Mercedes Classe A
(2012-2018 /
W176)
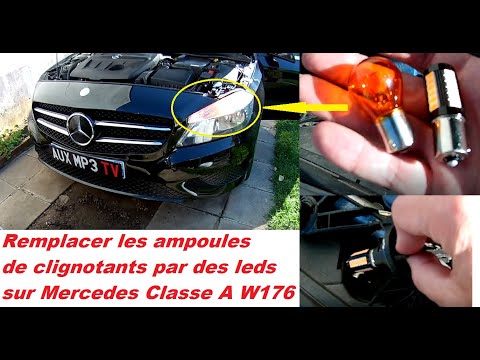
In this tutorial, you will learn how to replace the front turn signal bulbs on a Mercedes A-Class W176, a very simple and quick operation. After obta…
Other guides you may be interested in |
Frequently Asked QuestionsHow to Replace the Cabin Filter on the Opel Grandland X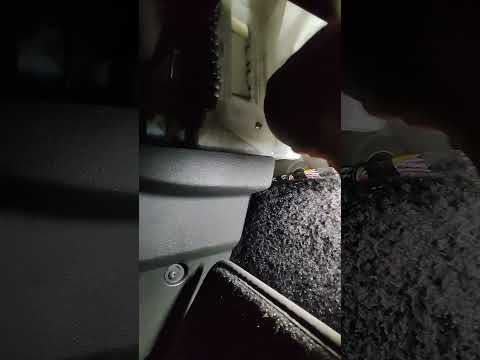
If you own an Opel Grandland X and want to know the steps to replace the cabin air filter, carefully read the following guide and follow the described steps. First, enter the vehicle and go to the passenger side. Then, locate the box containing the air filter in the lower side area of the dashboard. Remove the cover of the box and finally replace the old filter with the new one. Refit the cover, and you are done. by ScegliAuto More videos
|

|
For advertising on this site Write to info@scegliauto.com
ScegliAuto is not responsible for any inaccuracy of the data in the lists. To report any inaccuracy or your business (if you own the business in question), please write to info@scegliauto.com
Number of seconds to generate the page: 0.166
(c) ScegliAuto 2026 - info@scegliauto.com - Privacy policy VAT number: IT01247470535 |
