
|
Do it yourself
| |||
| ||||


How to replace the rear tailgate switch of the Mini Cooper R55
Model: Mini Mini
R56, R57, R55
- Years 2007-2014
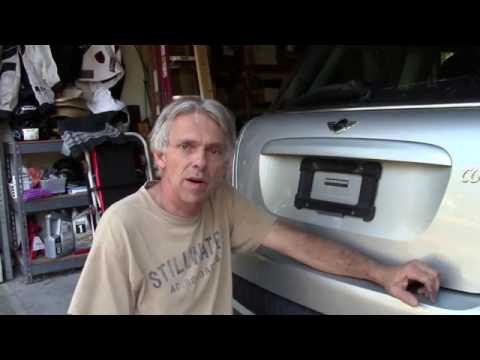
Let's see how to replace the lock of the rear hatch handle of the Mini R55: unfortunately, this is a common issue with this model. The rear hatch only unlocks with the remote control, but does not open with the lock, so we have a problem with the physical button. The button is incorporated in the long chrome strip that also contains the license plate lights, and is held in place by four T20 screws. When we remove it, we put a clamp on the wire coming out of the hatch; in fact, if it gets stuck inside the bodywork, it will be a serious problem to retrieve it. To access the lock, we need to remove the rubber button, which is difficult to find. The easiest thing to do is to buy a new strip with the code B0CGRB357B on Amazon, costing 58.99 euros with free delivery: plug&play, just replace it by pressing the clips; put back the screws we had removed earlier and we have finished our work.
Posted on 10 February 2025 by ScegliAuto
Video tutorial
Related tutorials
Mini
(2001-2007 /
R52, R50, R53)
In this short guide, we will see the instructions that will allow us to disassemble and replace the rear tailgate panel of the Mini Cooper. First, op…
Mini
(2001-2007 /
R52, R50, R53)
In this video tutorial, we will see how to disassemble and replace, or repair, the rear door button of the Mini Cooper, in simple and quick steps. Fi…
Mini
(2001-2007 /
R52, R50, R53)
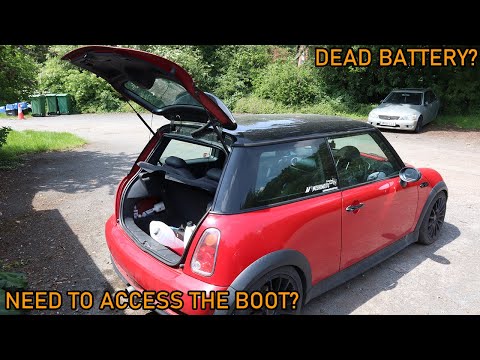
In today's video tutorial we will see the necessary guide that will allow us to open the tailgate of the trunk, with a flat battery, of the Mini Coop…
Other guides you may be interested in
|
How to Replace the Headlight Bulbs on a Mercedes C-Class
Let's see how to replace the headlight bulbs on a Mercedes C-Class. Open the hood by pulling the lever located at the bottom right of the dashboard and secure it with the prop rod. Locate the inspection cap of the headlight (located at the back of the headlight) and remove it. At this point, you will find the bulbs with metal clips; pull the bulb holder out of the headlight and extract the damaged bulbs using a screwdriver or needle-nose pliers. Install the new bulbs (always the correct type and size) and insert the bulb holder back into the headlight. Reassemble all the parts removed earlier. by ScegliAuto More videos
|

|
For advertising on this site Write to info@scegliauto.com
ScegliAuto is not responsible for any inaccuracy of the data in the lists. To report any inaccuracy or your business (if you own the business in question), please write to info@scegliauto.com
Number of seconds to generate the page: 0.065
(c) ScegliAuto 2026 - info@scegliauto.com - Privacy policy VAT number: IT01247470535 |