
|
Do it yourself
| |||
| ||||


Removing the Alternator
Model: Mini Mini
R53, R52, R50
- Years 2001-2007
In today's tutorial video, you will see the main instructions on how to remove and replace the alternator on a Mini Cooper R53, second generation, by following these steps. First, to remove the alternator, you need to take off the front bumper to access and extract the alternator. Once the bumper is removed, unscrew the 10 mm bolts of the alternator. Remove the auxiliary belt and disconnect the power connector; once removed, you can replace it with the new one, applying the reverse procedure for reassembly!
Updated on 7 April 2026 by ScegliAuto
Video tutorial
Related tutorials
Mini
(2001-2007 /
R53, R52, R50)
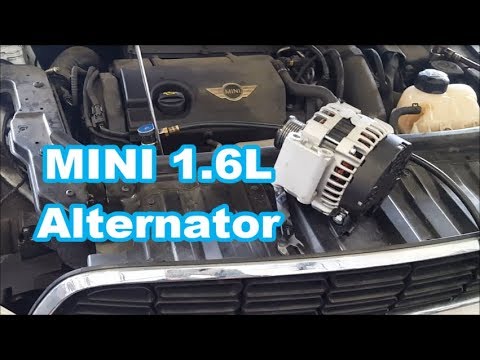
In this brief guide, we will outline the main instructions for removing and replacing the alternator on the Mini Cooper. First, open the bonnet of th…
Mini
(2010-2016 /
Countryman1, R60)
How to remove the alternator on a Mini? Let's see how to disassemble it. Open and lift the front bonnet, unscrew the locking pins of the right front …
Mini
(2001-2007 /
R53, R52, R50)
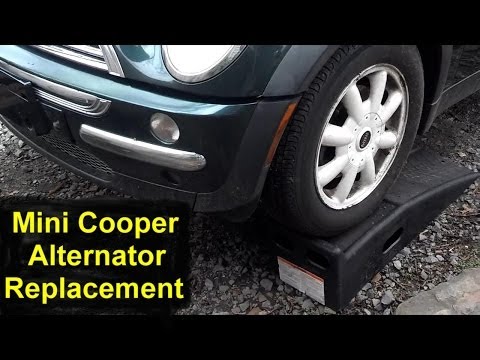
Start by disconnecting the electrical supply by removing the positive terminal from the battery. Dismantle the coolant hoses, which should be laid as…
Other guides you may be interested in
|
How to Reset the Central Locking of the Volkswagen Golf 4?
If the central locking system of the Volkswagen Golf 4 is not working, it is likely necessary to reset the system: to do this, open the driver's door and detach the side panel of the dashboard next to the steering wheel. Under this panel, you will find the fuses, including the one for the central locking, which is indicated in the manual as number 14. To reset the system, remove this fuse from its housing, then reinsert it or replace it with a new one of the same amperage: this will reset the central locking system. by ScegliAuto More videos
|
|
For advertising on this site Write to info@scegliauto.com
ScegliAuto is not responsible for any inaccuracy of the data in the lists. To report any inaccuracy or your business (if you own the business in question), please write to info@scegliauto.com
Number of seconds to generate the page: 0.088
(c) ScegliAuto 2026 - info@scegliauto.com - Privacy policy VAT number: IT01247470535 |
