
|
Do it yourself
| |||
| ||||


Instructions for Removing the Car Radio
Model: Mini Mini
R50, R52, R53
- Years 2001-2007
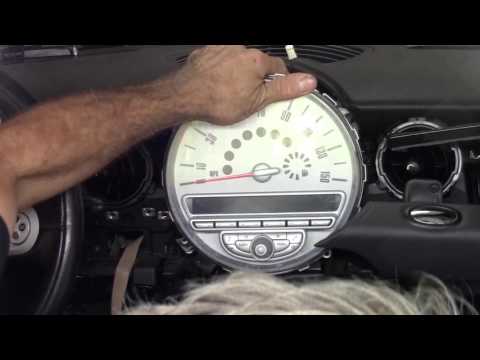
To remove the original car radio, you need to take off the trim mouldings on the sides of the centre console, which are aluminium-coloured. To do this, open the glove compartment on the passenger side to access the fixing screws. On the driver's side, first disconnect the plastic cover located just below the steering column. In addition to the side screws securing the mouldings, you must also unscrew those under the speedometer to lift it slightly and allow for the removal of the mouldings. At this point, unscrew the fixing screws of the car radio, pull it out from its slot, and disconnect the plugs to complete the removal.
Updated on 10 February 2026 by ScegliAuto
Video tutorial
Related tutorials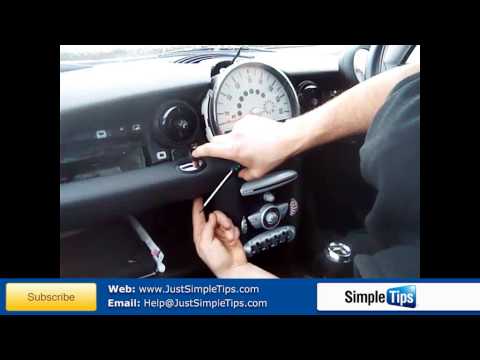
Mini
(2007-2014 /
R57, R55, R56)
Follow the steps to remove the dashboard of a Mini while taking out the original radio. Use a screwdriver to unscrew the securing screws of the air v…
Mini
(2001-2007 /
R50, R52, R53)
We replace the radio of the Mini Cooper if it is damaged or if it is worn out. Let's see the disassembly of the radio. We disassemble the plastics on…
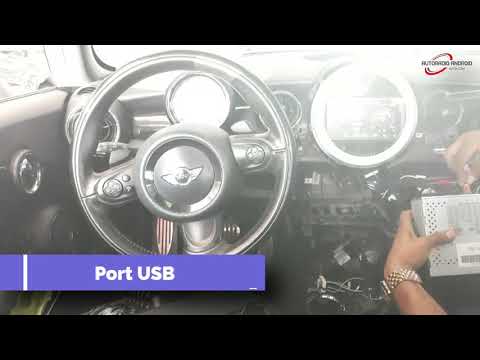
Mini
(2007-2014 /
R57, R55, R56)
To replace the Mini Cooper car radio, you have to remove the part around the central vents with a plastic tool to get to the 3 screws that we are goi…
Other guides you may be interested in
|
How to Remove the Headlight Bulbs on a Toyota Rav4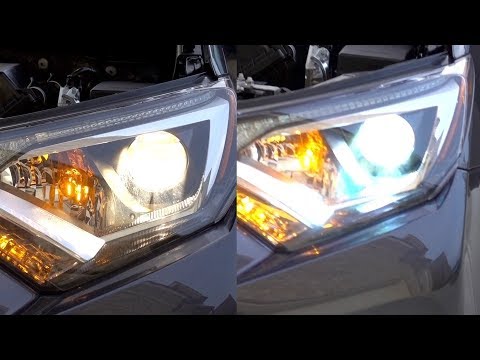
Let's see how to remove the headlight bulbs on a Toyota Rav4. Open the bonnet by pulling the lever located at the bottom right of the dashboard and secure it. Locate the inspection cap (if present) on the headlight and remove it (located at the rear of the headlight). At this point, you will find the bulbs with metal clips; pull the bulb holders out of the headlight and extract the damaged bulb using a screwdriver and pliers. Fit the new bulb (ensuring it is the correct type and size), insert the bulb holder back into the headlight housing, and close the headlight with the inspection cap. Test the lights to ensure they are functioning correctly. by ScegliAuto More videos
|
|
For advertising on this site Write to info@scegliauto.com
ScegliAuto is not responsible for any inaccuracy of the data in the lists. To report any inaccuracy or your business (if you own the business in question), please write to info@scegliauto.com
Number of seconds to generate the page: 0.048
(c) ScegliAuto 2026 - info@scegliauto.com - Privacy policy VAT number: IT01247470535 |