
|
Do it yourself
| |||
| ||||


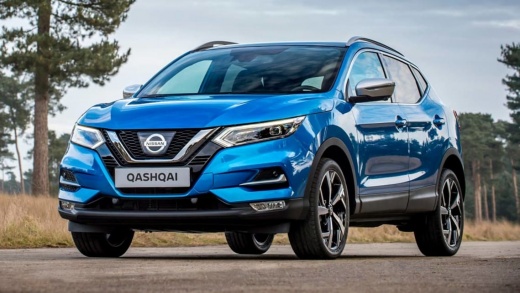
How to Reset the AdBlue Warning Light on a Nissan Qashqai?
Model: Nissan Qashqai
J11
- Years:
2014, 2015, 2016, 2017, 2018, 2019, 2020, 2021, 2022
Video tutorial
If the AdBlue warning light has illuminated on the instrument cluster of your Nissan Qashqai, it means that the fluid level in the emissions control system has reached the minimum and needs to be topped up. This is a very simple and quick operation; let’s see how to proceed in this tutorial. First, purchase a 10-litre canister of urea, then ensure the engine is off and open the fuel flap. Next, unscrew the indicated blue cap, insert the supplied hose from the canister into the hole, and pour in the necessary amount of fluid to reach the maximum level.
Posted on 10 October 2026 by ScegliAuto
Related tutorials
Nissan Qashqai
(2014-2022 /
J11)
Hello everyone! Today we will explain how to reset the important AdBlue additive warning light on your Nissan Qashqai. Reset through the dashboard me…

Nissan Qashqai
(2014-2022 /
J11)
Below we will see the instructions that will allow us to reset the AdBlue warning light of the Nissan Qashqai. In order to reset the AdBlue refill wa…

Nissan Qashqai
(2014-2022 /
J11)
If the AdBlue warning light has illuminated on the instrument panel of your Nissan Qashqai, it means that the fluid in the emission control system ha…
Other guides you may be interested in
|
Frequently Asked QuestionsHow to Remove the Rear Bumper on a Peugeot 308
This article outlines the procedure to remove and replace the rear bumper on a Peugeot 308 T9. First, remove the screws located in the wheel arch of the rear wheels, then remove the plastic clips underneath the bumper. Next, take off the wheel arch cover, and remove the plastic nut. After removing the nut, disconnect the connectors present. Now, remove the fixing screws located underneath the bumper and also the plastic clips. Once all clips and screws are removed, you can take off the bumper for repair or replacement. by ScegliAuto More videos
|
|
For advertising on this site Write to info@scegliauto.com
ScegliAuto is not responsible for any inaccuracy of the data in the lists. To report any inaccuracy or your business (if you own the business in question), please write to info@scegliauto.com
Number of seconds to generate the page: 0.083
(c) ScegliAuto 2026 - info@scegliauto.com - Privacy policy VAT number: IT01247470535 |
