
|
Do it yourself
| |||
| ||||



How to Enable and Disable Parking Sensors on the Opel/Vauxhall Astra L
Model: Vauxhall Astra
Astra L
- Years:
2021, 2022, 2023, 2024, 2025, 2026
Video tutorial
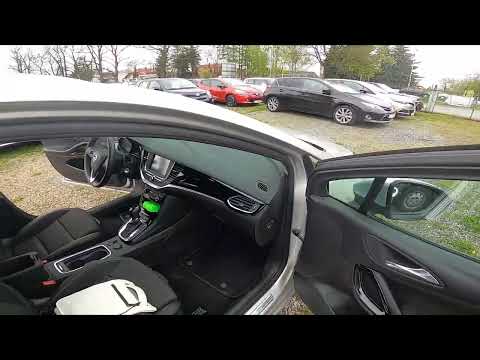
The video shows how to enable or disable the parking sensors on an Opel/Vauxhall Astra L. The issue: when you put the car in reverse, a screen appears stating "parking sensors disabled", but there is no direct button to reactivate them. In this situation, you cannot access the menu. The solution: exit the reverse screen (put it in Park), return to the main screen (home), and press the "Auto" button (car icon). This gives access to the advanced driver assistance systems (ADAS). Here you will find various options; at the bottom, there is the "Close Proximity Obstacle Detection" option. By selecting it, the sensors are activated or deactivated (depending on their current state). Once activated, when you put the car in reverse, the beeping sounds will be heard again. The YouTuber emphasises that they wasted time searching for this information as it is not clearly documented.
Posted on 26 September 2026 by ScegliAuto
Related tutorials
Vauxhall Astra
(2009-2016 /
Astra J)
Today we will show you how to disable the parking sensors on an Opel Astra model J. Let's turn on the vehicle's instrument panel and press the TAV bu…
Vauxhall Astra
(2015-2022 /
Astra K)
In this video, learn how to disable (and consequently enable) the passenger airbag on an Opel Astra K. This operation is necessary if you need to tra…

Vauxhall Astra
(2015-2022 /
Astra K)
Following these brief steps, we will see how to recalibrate the TPMS sensors and consequently reset the tire pressure warning on the Opel Astra; befo…
Other guides you may be interested in |
Frequently Asked QuestionsHow to Set the Clock on a Fiat Scudo
Setting the time on a Fiat Scudo is a simple and quick operation. First, turn on the vehicle's onboard computer and then press the SET button located on the dashboard. The settings menu will appear on the display; press the "+" button to select the "TIME" option using the "SET" button. Once in the clock menu, you can choose the format and adjust the hours and minutes by pressing the "+", "-" and "SET" buttons. When finished, return to the main menu and then turn off the ignition to complete the reset. by ScegliAuto More videos
|
|
For advertising on this site Write to info@scegliauto.com
ScegliAuto is not responsible for any inaccuracy of the data in the lists. To report any inaccuracy or your business (if you own the business in question), please write to info@scegliauto.com
Number of seconds to generate the page: 0.017
(c) ScegliAuto 2026 - info@scegliauto.com - Privacy policy VAT number: IT01247470535 |
