
|
Do it yourself
| |||
| ||||


Vauxhall Insigna - Video tutorial
Model: Vauxhall Insigna
MK 1, Insigna A
- Years 2008-2017 How to disassemble the original on-board computer of the Opel Insigna? Remove the media frame (under the air vents) and the central tunnel frame as in the video with a plastic lever, then, with the aid of a screwdriver, unscrew the tightening screws placed on the sides of the same. After unscrewing the side fastening screws of the stereo, extract the front part of the media from its seat (including the covering that reaches the tunnel), unscrew the on-board computer from the rear of the car radio and remove it (disconnect the various clamps of the power supply at the rear). To carry out the assembly of the new on-board computer, let's go backwards.
Posted on 23 November 2023 by ScegliAuto
 How to remove the Opel Insigna headlight bulb
Vauxhall Insigna (2008-2017 / MK 1, Insigna A) How to remove the headlight bulb? Let's see how the headlight bulb of an Opel Insigna is removed. We lift the bonnet, find the inspection cap of the 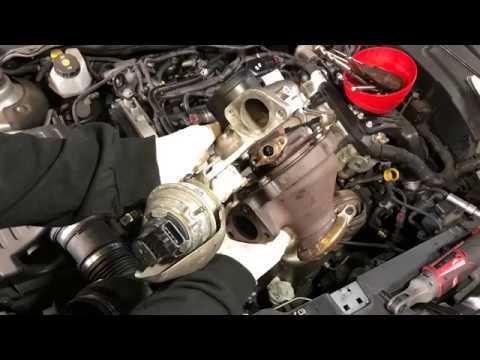 How to disassemble and replace the turbine on Opel Insigna
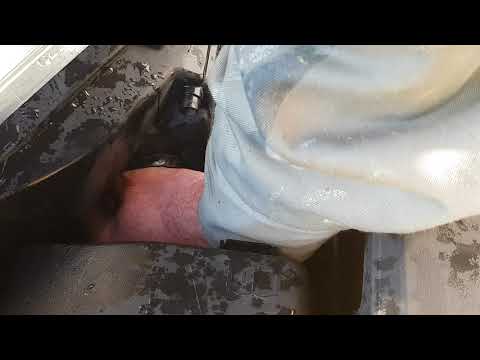
Vauxhall Insigna (2008-2017 / MK 1, Insigna A) Let's see together how to disassemble and replace the turbine on Opel Insigna. We open the bonnet, lift it and put it in safety, remove the soundproo 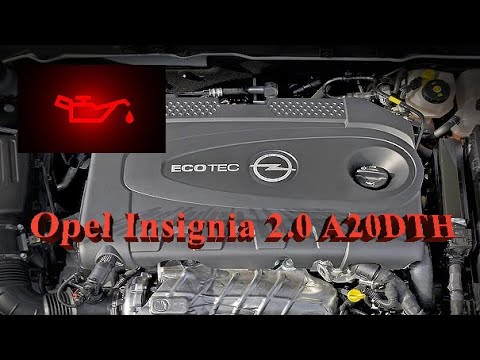 Cause and consequences on the engine of an Opel Insignia due to low oil pressure.
Vauxhall Insigna (2008-2017 / MK 1, Insigna A) In this video, we can see the consequences of low oil pressure on the engine of an Opel Insigna 2.0 with an A20DTH engine. A small rubber gasket inst Other guides that may interest you
|
Frequently Asked QuestionsHow to set the time in the Citroen DS3?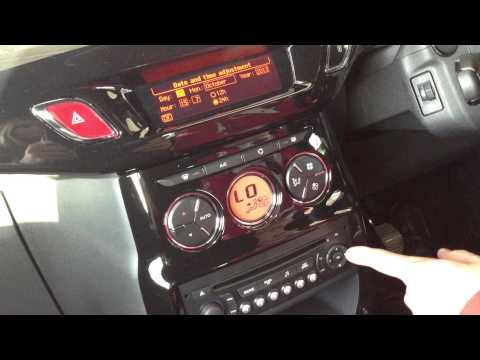
In this tutorial we can see how to set the time in the Citroen DS3, an extremely simple and fast operation, to be carried out for example after being left with the battery on the ground or following the transition to winter and summer time. First of all, turn on the instrument panel, then press the "Menu" button on the center console and enter the settings section. Then select "Display configuration", then "Date and time configuration" and proceed with the time change using the same keys. Once finished, we select "OK" at the bottom left. by ScegliAuto More videos
|
|
For advertising on this site Write to info@scegliauto.com
ScegliAuto is not responsible for any inaccuracy of the data in the lists. To report any inaccuracy or your business (if you own the business in question), please write to info@scegliauto.com
Number of seconds to generate the page: 0.058
(c) ScegliAuto 2024 - info@scegliauto.com - Privacy Policy VAT number: IT01247470535 |