
|
Do it yourself
| |||
| ||||


Replacing the thermostat on the Opel Zafira
Model: Vauxhall Zafira
Zafira A, MK 1, T98
- Years 1999-2005
Do we want to replace the thermostat of an Opel Zafira? Let's see how the damaged piece is removed from inside the engine compartment. We lift the engine compartment, remove the engine cover panel to access the sleeve. Unscrew the pins of the sleeve where the thermostat is located (we use a socket wrench with relative bushes), remove the sealing cap of the housing and extract the thermostat inside. We insert the new piece and close with the cap of the sleeve. We tighten the pins well and we're done. Make sure that you have correctly inserted and mounted the new thermostat in the appropriate housing. We mount the various covers placed above the engine head.
Posted on 3 March 2021 by ScegliAuto
Video tutorial
Related tutorials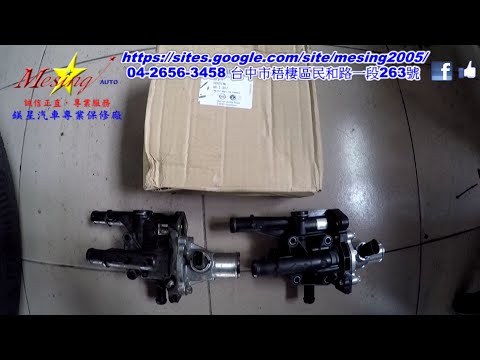
Vauxhall Zafira
(2005-2011 /
MK 2, A05, Zafira B)
In order to replace the thermostat of the Opel Zafira, you need to open the hood so that you can access the components located inside the engine comp…

Vauxhall Zafira
(2005-2011 /
MK 2, A05, Zafira B)
Today's guide will show us the procedure for disassembling and replacing the thermostat of the Opel Zafira. First, we open the engine hood and start …
Vauxhall Zafira
(2005-2011 /
MK 2, A05, Zafira B)
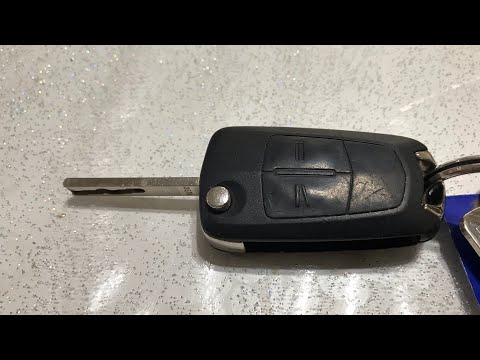
Let's start by opening the physical key of our Opel Zafira, simply by pressing the upper silver button. After that, we will have to disengage the rea…
Other guides you may be interested in
|
How to Remove the Centre Console on a Renault Scenic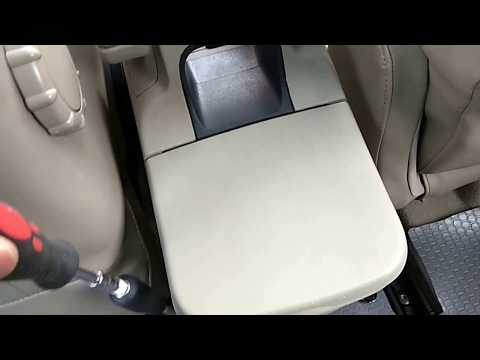
Watch this video to learn how to remove the glove compartment from the rear cover of the centre console on a Renault Scenic. Use a plastic lever to pry at the edge of the side plastics as shown in the video. Once the plastics are removed, unscrew the screws located at the sides of the centre console with a suitable screwdriver, and disconnect all the power connectors. Remove the side rests from the glove compartment. Fit the new piece onto the centre cover and proceed with the assembly of the remaining parts, working in reverse order. by ScegliAuto More videos
|
|
For advertising on this site Write to info@scegliauto.com
ScegliAuto is not responsible for any inaccuracy of the data in the lists. To report any inaccuracy or your business (if you own the business in question), please write to info@scegliauto.com
Number of seconds to generate the page: 0.057
(c) ScegliAuto 2026 - info@scegliauto.com - Privacy policy VAT number: IT01247470535 |