
|
Do it yourself
| |||
| ||||


How to Replace the Timing Belt on the Opel Astra H
Model: Vauxhall Astra
Astra H
- Years 2004-2010
This video tutorial explains how to replace the timing belt on the Opel Astra H. First, remove the air hose by loosening the clips and turning it as indicated by the markings. Next, remove the filter and other components. Now, to remove the belt, use a 15mm socket to loosen the bolts, allowing you to pull the belt by hand carefully. Before fitting the new timing belt, ensure the tensioners are in good condition. If not, remove it using a 14mm socket. After removing the faulty tensioner, proceed to remove the pulley. Following the video instructions, replace the tensioner and reassemble all previously removed parts. Finally, insert the new timing belt, and you're done.
Updated on 26 August 2026 by ScegliAuto
Video tutorial
Related tutorials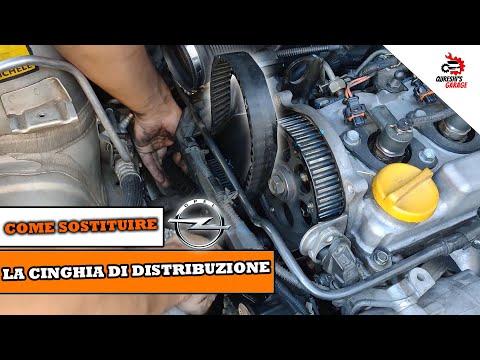
Vauxhall Astra
(2004-2010 /
Astra H)
.. In today's video, see how to replace the timing belt on the Opel Astra H. You can purchase the specific replacement part from.. …
Vauxhall Astra
(2004-2010 /
Astra H)
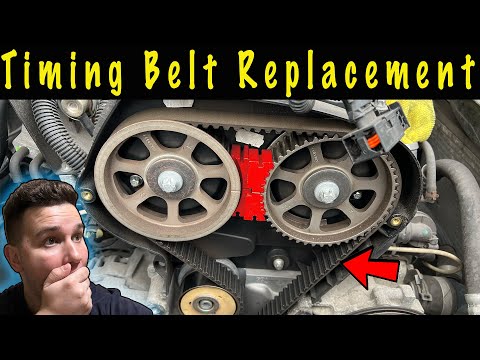
To replace the timing belt on an Opel Astra, open the bonnet to access the components in the engine bay. Loosen the screws securing the plastic cover…
Vauxhall Astra
(2004-2010 /
Astra H)
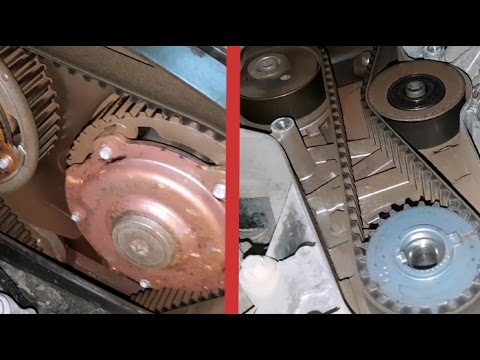
To replace the timing belt on the Opel Astra, open the bonnet and then loosen the bolts securing the air filter box, located on the left side of the …
Other guides you may be interested in
|
Frequently Asked QuestionsHow to Connect the Cables to the Battery of the Citroen Xsara Picasso?
In this tutorial, you will see how to connect the cables to the battery of the Citroen Xsara Picasso, useful if you need to recharge it or perform an emergency start. First, ensure the key is not inserted, then open the bonnet and move to the front of the left headlamp. Next, locate the bolt just behind the filter box and connect the positive terminal clamp to it. Now you can connect the negative terminal to any point on the chassis, such as the indicated point. Once the operation is complete, ensure you disconnect the negative first and then the positive. by ScegliAuto More videos
|

|
For advertising on this site Write to info@scegliauto.com
ScegliAuto is not responsible for any inaccuracy of the data in the lists. To report any inaccuracy or your business (if you own the business in question), please write to info@scegliauto.com
Number of seconds to generate the page: 0.066
(c) ScegliAuto 2026 - info@scegliauto.com - Privacy policy VAT number: IT01247470535 |
