
|
Do it yourself
| |||
| ||||


How to replace the battery of the key of the Opel Astra K 2016
Model: Vauxhall Astra
Astra K
- Years 2015-2022
To correctly replace the battery inside the key of your 2016 Opel Astra K, you simply need a flat-head screwdriver and a new button battery that is perfectly compatible (model CR2032). First, locate the slot on the back of the cover and insert the flat-head screwdriver into it to remove the cover without any problems. Once you have done that, remove the old battery and replace it with the new one. Finally, reassemble the back cover and you're done.
Posted on 7 June 2024 by ScegliAuto
Video tutorial
Related tutorials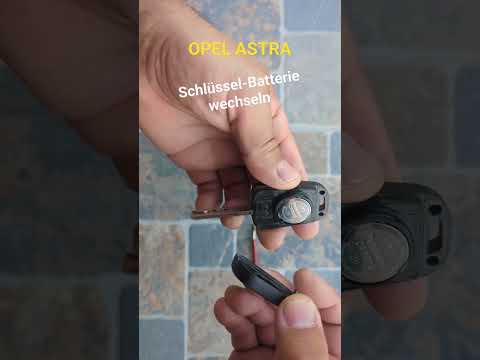
Vauxhall Astra
(2009-2016 /
Astra J)
Replacing the battery in the key of your Opel Astra J (year 2009-2016) is a very simple operation even if you do it independently. Below we will disc…

Vauxhall Astra
(2015-2022 /
Astra K)
In the following procedure, you will find a description of all the steps you need to follow in order to replace the battery inside the key of your Op…

Vauxhall Astra
(2015-2022 /
Astra K)
To correctly complete the procedure that allows you to replace the battery inside the key of your Opel Astra K, you must carefully read the following…
Other guides you may be interested in
|
Frequently Asked QuestionsTiming Belt Replacement on Audi Q5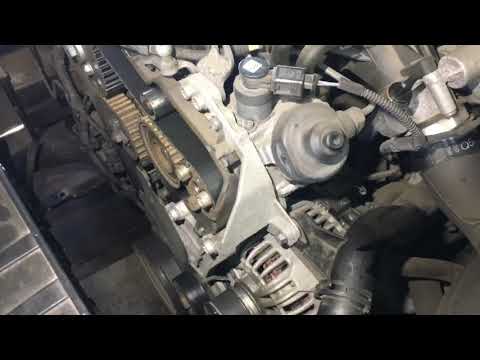
The timing belt on the Audi Q5 has reached its mileage limit, so what should you do? Let's go through the removal of the belts on the Q5. Open and lift the hood of the engine, then remove the engine soundproofing panel. Once these steps are completed, remove the plastic covers of the belts located on the left side of the engine. Loosen the second tensioner and slide the belt out of its seat. After installing the new belt, use a wrench to install the tensioner pulley, and tighten it until the belt has the correct tension (install both belts). Reinstall the covering plastics. Start and test the Audi Q5 engine. by ScegliAuto More videos
|

|
For advertising on this site Write to info@scegliauto.com
ScegliAuto is not responsible for any inaccuracy of the data in the lists. To report any inaccuracy or your business (if you own the business in question), please write to info@scegliauto.com
Number of seconds to generate the page: 0.126
(c) ScegliAuto 2026 - info@scegliauto.com - Privacy policy VAT number: IT01247470535 |