
|
Do it yourself
| |||
| ||||


How to reset the service light on the Opel/Vauxhall Insignia
Model: Vauxhall Insigna
Insigna A, MK 1
- Years 2008-2017
In this video, we see how to reset the service light on an Opel/Vauxhall Insignia after having performed a regular service. First, we get into the car and turn on the instrument panel: we see that in the center of the display, the car informs us about the oil change. We will need to press the buttons located on the right side of the steering wheel, so we press "OK", go into the "info" menu, scroll down to the oil section, press the right arrow and hold down the "reset" button until it resets. At this point, the system asks for confirmation. We definitely say yes. Now we turn off the panel and turn it back on, we see that the warning is not repeated. The light is reset.
Posted on 13 June 2024 by ScegliAuto
Video tutorial
Related tutorials
Vauxhall Insigna
(2008-2017 /
Insigna A, MK 1)
Let's see in this very brief tutorial how to perform a service reset on an Opel Insignia A. First, let's turn on the instrument panel of our vehicle …

Vauxhall Insigna
(2008-2017 /
Insigna A, MK 1)
Let's see how to reset the service light on the Opel Insignia A with a digital tachometer: let's sit in the driver's seat, close the doors, do not pr…

Vauxhall Insigna
(2017-2026 /
MK 2, Insigna B)
In today's video, we will see how to perform the service reset on an Opel Insignia B, model produced from 2017. Start the procedure by turning on the…
Other guides you may be interested in
|
Frequently Asked QuestionsHow to Remove the CV Boot on Fiat Panda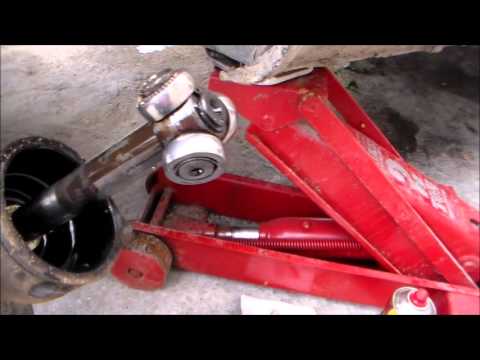
Let’s see how to remove the boot from the joint on a Fiat Panda. After positioning your car on a column lift: raise it to a comfortable height to work on, loosen the wheel nuts (using a socket wrench or air drill) and remove the wheel. Begin unscrewing the brake disc bolts with a socket wrench. Remove the bolts located under the disc and completely detach the wheel hub. Pull the arm around the joint with your hands. Fit the new boot (after removing the old one) onto the constant velocity joint, then start reassembling all the parts in reverse order. by ScegliAuto More videos
|

|
For advertising on this site Write to info@scegliauto.com
ScegliAuto is not responsible for any inaccuracy of the data in the lists. To report any inaccuracy or your business (if you own the business in question), please write to info@scegliauto.com
Number of seconds to generate the page: 0.061
(c) ScegliAuto 2026 - info@scegliauto.com - Privacy policy VAT number: IT01247470535 |