
|
Do it yourself
| |||
| ||||



How to Remove the Brake Disc on an Opel Antara
Model: Vauxhall Antara
MK 1
- Years:
2006, 2007, 2008, 2009, 2010, 2011, 2012, 2013, 2014, 2015
Video tutorial
In this video, learn how to remove a brake disc from an Opel Antara. Position your car on a column lift, loosen the bolts with a socket spanner, and raise it to a comfortable height. Unscrew the bolts and remove the wheel, then start unscrewing the bolts of the brake caliper to detach it from the bracket. Use a screwdriver to detach the brake pads. Now remove the caliper bracket and unscrew the bolts on the brake disc, pulling the disc towards you to slide it off the hub. Remove all dirt and debris from the disassembled parts with brushes. Before reassembly, lubricate the parts as shown in the video. Apply grease to the bolts and prepare all parts for assembly. Fit the brake disc with all associated bolts, tighten the caliper bracket to the disc and the pads, then refit the brake caliper, ensuring all bolts are tightened properly. Before fitting the wheel, bleed the brake caliper and tighten the bolt. Fit the wheel with the bolts, top up any lost oil, and always check the brake pedal pressure.
Updated on 25 February 2026 by ScegliAuto
Related tutorials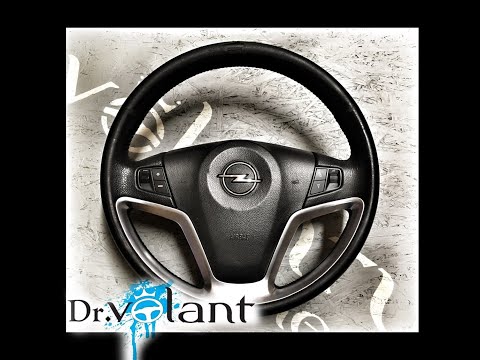
Vauxhall Antara
(2006-2015 /
MK 1)
Before you can begin, disconnect the positive terminal of the battery of your Opel Antara to work safely. Start by sitting in the driver's seat, then…
Vauxhall Antara
(2006-2015 /
MK 1)
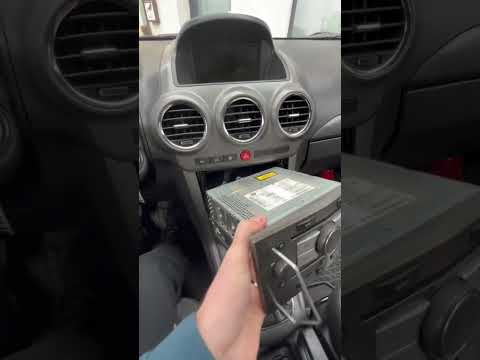
If you want to remove the factory radio from your Opel Antara, just follow the instructions in this new mini guide. First, obtain a pair of thin meta…

Vauxhall Antara
(2006-2015 /
MK 1)
See how to change the brakes on an Opel Antara: lift the car and remove the wheel, then disconnect the brake line, loosen the pistons with a lever (t…
Other guides you may be interested in
|
How to Open the Hood of the BMW X3
Today, you will learn how to open and close the hood of the BMW X3. To perform this simple operation, lift the hood release lever located next to the door seal on the driver’s side. After pulling the lever, you will notice that the hood will lift slightly. Position yourself in front of the hood and lift it after moving the internal lever from left to right. To keep the hood secure during maintenance, use the side support rod. To close the hood, simply let it fall back into place. by ScegliAuto More videos
|
|
For advertising on this site Write to info@scegliauto.com
ScegliAuto is not responsible for any inaccuracy of the data in the lists. To report any inaccuracy or your business (if you own the business in question), please write to info@scegliauto.com
Number of seconds to generate the page: 0.032
(c) ScegliAuto 2026 - info@scegliauto.com - Privacy policy VAT number: IT01247470535 |
