
|
Do it yourself
| |||
| ||||


|
Model: (Various brands) Various
You can spray paint your Piaggio scooter for a professional finish. Start by using fine sandpaper to remove the gloss, as new paint will not adhere to a glossy surface. If desired, you can apply a coat of primer, but if you have removed the gloss properly, this should not be necessary. Apply a very light first coat that acts as a "base coat". Then, apply the first covering coat, avoiding any runs. Do not rush to cover completely. Once dry, apply a second coat to cover the edges well. Allow it to dry thoroughly, and step back to check for any spots; spray quickly to even out the colour. This prepares the base for the clear coat. You now have a couple of hours for the clear coat; if you need to wait longer, sand with 2000 grit before applying the clear coat, or it will peel. The 2K clear coat needs to be activated by pressing the cap onto the button under the spray can. Press firmly and shake well for about 60 seconds before proceeding. Stay close, about 10 cm from the surface. The surface should remain wet. Allow it to dry away from other items. When doing this work, use a mask. After about ten minutes, you can apply the second coat. Allow it to dry thoroughly and reassemble the fairing. Job done.
Updated on 11 June 2026 by ScegliAuto
Video tutorial
Related tutorials
(Various brands) Various
In this video tutorial, you will see how to top up the car's air conditioning with a £7 canister (available in 200g and 350g formats). This system ca…

(Various brands) Various
Resetting the service light on a Piaggio scooter is a very simple and quick operation. Press and hold the MODE button on the dashboard and turn on th…
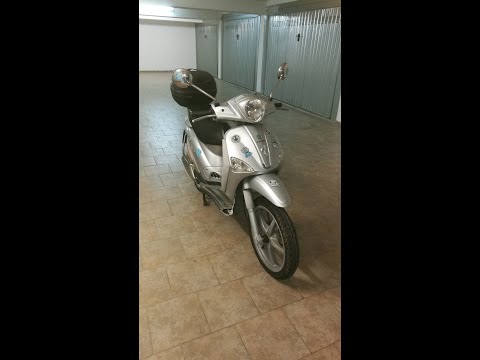
(Various brands) Various
Today, with the help of this video tutorial, we will explain how to replace the body parts of the Piaggio Liberty 125 scooter. Start by unscrewing th…
|
How to Replace the Front Headlight on the BMW F800GS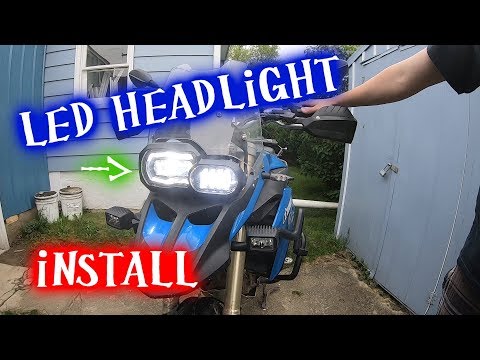
In this tutorial, you will see how to replace the front headlight on the BMW F800GS, an extremely simple and quick operation. First, ensure the key is not inserted for safety, then locate the power connector at the back of the headlamp and disconnect it by pressing the clip. Next, unscrew the two side bolts using a Torx T40 key, grasp the headlight and pull it away from the support. At this point, you can insert the replacement, tighten the two bolts, and reconnect the power connector. by ScegliAuto More videos
|
|
For advertising on this site Write to info@scegliauto.com
ScegliAuto is not responsible for any inaccuracy of the data in the lists. To report any inaccuracy or your business (if you own the business in question), please write to info@scegliauto.com
Number of seconds to generate the page: 0.076
(c) ScegliAuto 2026 - info@scegliauto.com - Privacy policy VAT number: IT01247470535 |
