
|
Do it yourself
| |||
| ||||


How to Remove the Plastic Key Cover of the Polestar 2
Model: Polestar Polestar 2
MK 1
- Years 2022-2026
In this guide, we will briefly outline the main steps to remove and replace the plastic cover of the key or the internal components of the Polestar 2 remote. First, take your remote and start prying at the side to remove the plastic cover; this will also allow access to the battery and the electronic board of the remote. If necessary, replace the plastic cover of the remote, the internal components, or the entire key shell, following the tutorial video to the end!
Updated on 13 September 2026 by ScegliAuto
Video tutorial
Related tutorials
Polestar Polestar 2
(2022-2026 /
MK 1)
If one of the devices in your Polestar 2 has suddenly stopped working, the first thing to do is check the status of the respective fuses, the diagram…
Polestar Polestar 2
(2022-2026 /
MK 1)
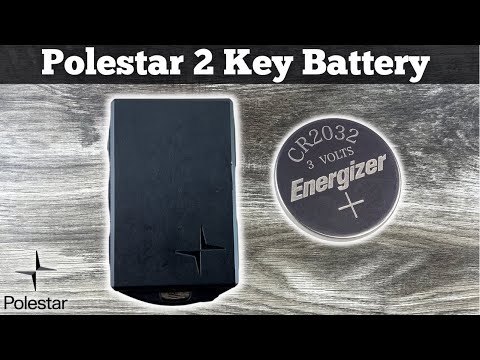
To replace the remote battery on the Polestar 2, slide the cover on the back of the device to access the internal components. Once the covers are rem…
Polestar Polestar 2
(2022-2026 /
MK 1)
The sector of vehicles with a 100% electric motor has taken over, and the Volvo Polestar is an example of this. This video showcases the Volvo Polest…
Other guides you may be interested in
|
How to Reset the Tyre Pressure Light on the Opel Grandland X
While driving, if you notice the tyre pressure warning light coming on, first check the actual inflation pressure of the tyres and, if necessary, restore the pressures recommended by the manufacturer. After restoring the correct pressures, you need to reset the warning light that has illuminated on the instrument cluster. To do this, locate the reset button on the lower central console. Press this button and hold it down for at least 3 seconds, after which the low pressure indication will turn off. by ScegliAuto More videos
|
|
For advertising on this site Write to info@scegliauto.com
ScegliAuto is not responsible for any inaccuracy of the data in the lists. To report any inaccuracy or your business (if you own the business in question), please write to info@scegliauto.com
Number of seconds to generate the page: 0.190
(c) ScegliAuto 2026 - info@scegliauto.com - Privacy policy VAT number: IT01247470535 |
