
|
Do it yourself
| |||
| ||||


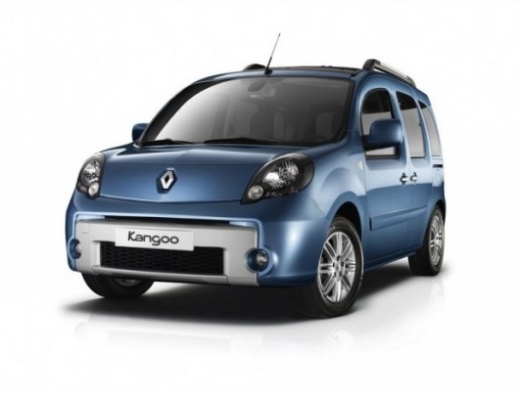
Replacing the cabin air filter of the Renault Kangoo 2
Model: Renault Kangoo
MK 2, FC, FW
- Years:
2007, 2008, 2009, 2010, 2011, 2012, 2013, 2014, 2015, 2016, 2017, 2018
Video tutorial
In this video, you will see how to replace the cabin air filter of the Renault Kangoo 2. Use a plastic lever to detach the gaiter at the base of the gear lever and its surround, including the connector. By unscrewing the top screws and removing the clips at the base, you can take off the panel under the gear lever. Remove the small side panel of the dashboard by disconnecting the connector, unscrew the seven screws on the surround and the two side screws to remove the glove box assembly, including the electrical connection. Remove the air duct after taking out the clip; at the end of the centre tunnel, you will find the filter cover. Unscrew the screw that holds it in place and remove it, taking out the two parts of the filter and the bar that separates them. Insert the new filter elements with the bar in between, close the cover, and secure it. Reassemble the components in the reverse order of disassembly.
Updated on 27 October 2026 by ScegliAuto
Related tutorials
Renault Kangoo
(2007-2021 /
MK 2, FC, FW)
The video explains how to replace the cabin air filter (or pollen filter) in a Renault Kangoo. The filter box is located near the passenger's feet an…

Renault Kangoo
(1997-2008 /
KC, MK 1, KW)
Also the cabin filter of cars, here we specifically refer to the Renault Kangoo 1, is subject to periodic replacement, undoubtedly benefiting the qua…

Renault Kangoo
(1997-2008 /
KC, MK 1, KW)
If you own a first-generation Renault Kangoo (1998-2008) and want to learn how to replace the cabin air filter, read this guide carefully and follow …
Other guides you may be interested in
|
How to reset the tyre pressure warning light on the Dacia Sandero?
The tyre pressure warning light that appears on the instrument cluster of the Dacia Sandero can be reset by inflating the tyres until they reach the correct pressure value: this value is indicated on the sticker attached to the driver’s door pillar. Once the inflation is complete, navigate through the menu that appears on the instrument cluster to find the option related to the tyres: select this with the OK button, which should then be held down for a few seconds to completely turn off the light. by ScegliAuto More videos
|
|
For advertising on this site Write to info@scegliauto.com
ScegliAuto is not responsible for any inaccuracy of the data in the lists. To report any inaccuracy or your business (if you own the business in question), please write to info@scegliauto.com
Number of seconds to generate the page: 0.071
(c) ScegliAuto 2026 - info@scegliauto.com - Privacy policy VAT number: IT01247470535 |
