
|
Do it yourself
| |||
| ||||


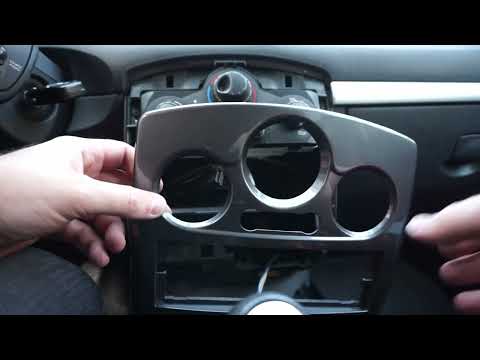
Disassembly and repair of the frame of the Renault Clio IV console
Model: Renault Clio
Clio IV, Clio 4, MK 4
- Years 2012-2019
In this video we see how to disassemble and repair the frame of the console of a Renault Clio IV: the chrome frame around the controls of the console or the GPS screen may crack or lose color: the official replacement costs about 400 euros, but it can be repaired at home without tools. The frame is fixed only with clips: we gently pull with our hands, without using screwdrivers, starting from the corners: be careful because it is a material that may have become fragile over time. There are several options for repairs: covering with an adhesive film, black or gray, but it does not always adhere well to the damaged chrome. It is advisable to paint directly, sanding the chrome surface to remove residues and painting with a matte spray (perhaps gray, to match the steering wheel), at a cost of 10/12 euros for the spray can of paint.
Posted on 28 July 2025 by ScegliAuto
Video tutorial
Related tutorials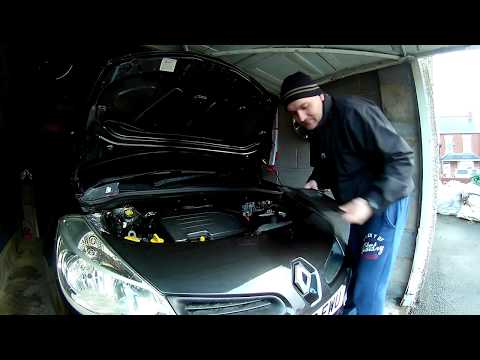
Renault Clio
(2005-2013 /
MK 3, Clio 3, Clio III)
Let's see in this video how to repair the passenger compartment fan of a Renault Clio third series. First of all, let's first disconnect the two batt…

Renault Clio
(2012-2019 /
Clio IV, Clio 4, MK 4)
Removing the car radio in a Renault Clio requires the use of a plastic lever and a T20 Torx screwdriver. Before starting, make sure you have disconne…
Renault Clio
(2005-2013 /
MK 3, Clio 3, Clio III)
As we can see in this tutorial, replacing the bulbs in the center console of the Renault Clio is a very simple operation. First of all, make sure the…
Other guides you may be interested in
|
Frequently Asked QuestionsHow to Remove the CV Boot on Fiat Panda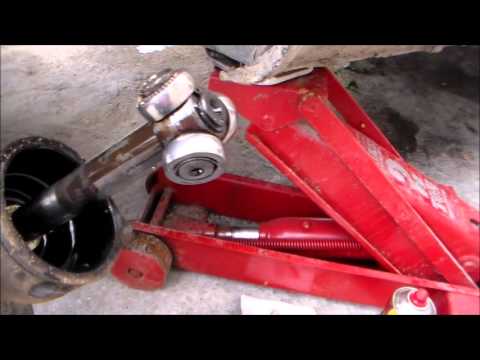
Let’s see how to remove the boot from the joint on a Fiat Panda. After positioning your car on a column lift: raise it to a comfortable height to work on, loosen the wheel nuts (using a socket wrench or air drill) and remove the wheel. Begin unscrewing the brake disc bolts with a socket wrench. Remove the bolts located under the disc and completely detach the wheel hub. Pull the arm around the joint with your hands. Fit the new boot (after removing the old one) onto the constant velocity joint, then start reassembling all the parts in reverse order. by ScegliAuto More videos
|

|
For advertising on this site Write to info@scegliauto.com
ScegliAuto is not responsible for any inaccuracy of the data in the lists. To report any inaccuracy or your business (if you own the business in question), please write to info@scegliauto.com
Number of seconds to generate the page: 0.067
(c) ScegliAuto 2026 - info@scegliauto.com - Privacy policy VAT number: IT01247470535 |