
|
Do it yourself
| |||
| ||||


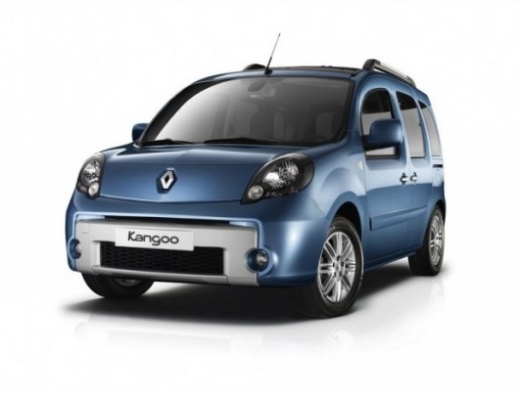
How to change the front brake pads on the Renault Kangoo II
Model: Renault Kangoo
MK 2, FC, FW
- Years:
2007, 2008, 2009, 2010, 2011, 2012, 2013, 2014, 2015, 2016, 2017, 2018
Video tutorial
Let's see how to change the front brake pads on a Renault Kangoo II: we start by opening the hood and removing the cap from the brake fluid reservoir, then we lift the car and remove the front wheels. We push back, using a flathead screwdriver, the brake piston, then we unscrew the caliper bolts, using a 13mm wrench. We check the condition of the rubber protection and the caliper bolt; if necessary, we will replace them. We remove the brake caliper and secure it to the suspension spring, so that the flexible hose of the brake line is not damaged. We remove the worn pads, remove the anti-noise springs, clean the pad housing thoroughly with a wire brush, and reassemble the new anti-noise springs. Now we reassemble the new pads; detach the caliper and screw the caliper bolts back in from both sides, after which we can reassemble the wheel and repeat the operation on the other side. Then we can lower the car and put the cap back on the brake fluid reservoir.
Posted on 15 September 2025 by ScegliAuto
Related tutorials
Renault Kangoo
(1997-2008 /
KC, MK 1, KW)
In this tutorial, you will see how to replace the front brake pads in the Renault Kangoo, a straightforward task that requires good manual skills. Fi…
Renault Kangoo
(1997-2008 /
KC, MK 1, KW)
Replacing the front brake discs and pads is maintenance that can easily be done yourself; therefore, lift the vehicle and secure it on proper axle st…
Renault Kangoo
(2007-2021 /
MK 2, FC, FW)
In this video tutorial, you will see how to replace the brake pads on a Renault Kangoo by following some essential steps: first, loosen the bolts of …
Other guides you may be interested in
|
How to Reset the Tire Pressure Light on a MG ZS?
On the instrument cluster of the MG ZS, the tire pressure light that appears can be reset by inflating the tires to the correct pressure: this value will be indicated on the sticker attached to the driver's door pillar. Once the tires have been properly inflated, you can turn on the instrument cluster and navigate through the menu until you find the option that indicates tire pressure: if this screen shows the new values, the light will turn off; otherwise, you will need to drive for a few miles so that the sensors can read the new values and turn off the light afterward. by ScegliAuto More videos
|
|
For advertising on this site Write to info@scegliauto.com
ScegliAuto is not responsible for any inaccuracy of the data in the lists. To report any inaccuracy or your business (if you own the business in question), please write to info@scegliauto.com
Number of seconds to generate the page: 0.062
(c) ScegliAuto 2026 - info@scegliauto.com - Privacy policy VAT number: IT01247470535 |
