
|
Do it yourself
| |||
| ||||


How to Repair the Brake Light Switch on the Renault Kangoo 1
Model: Renault Kangoo
MK 1, KC, KW
- Years 1997-2008
The repair illustrated in this video is temporary, to be done in an emergency (for example, while travelling): the advice is to buy a new one (the cost is not high) because otherwise, the problem may reoccur. The switch is located above the brake pedal; disconnect the electrical connector, rotate and pull the switch from the mount, then use a flat screwdriver to pry open the sides. Inside, you will find a spring, a movable metal plate, and two fixed leaf contacts: clean the contacts with a spray cleaner if you have it handy, or with sandpaper or a file, then adjust the distance by slightly bending the leaves inwards (be careful not to break them). Reinsert the spring and plate, close the switch, remount it, and test it.
Posted on 24 September 2026 by ScegliAuto
Video tutorial
Related tutorials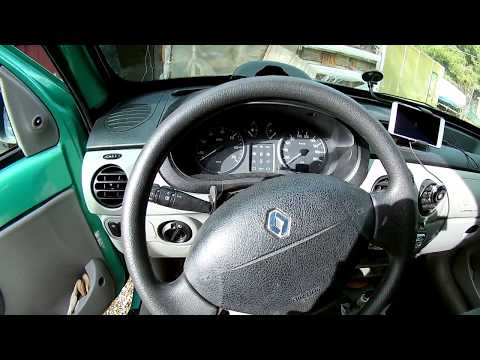
Renault Kangoo
(1997-2008 /
MK 1, KC, KW)
In this video, see how to repair the light selector of the Renault Kangoo I series. The problem was that when switching from dipped beam to main beam…

Renault Kangoo
(2007-2021 /
MK 2, FC, FW)
In this video we can see how to adjust the beam of the front headlights of the Renault Kangoo: we will need an 8mm wrench and a flat head screwdriver…
Renault Kangoo
(1997-2008 /
MK 1, KC, KW)
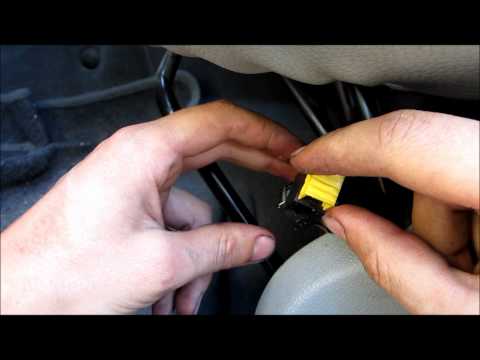
This short tutorial shows how to repair the connection of the airbag warning light in a Renault Kangoo. This operation must be carried out by disconn…
Other guides you may be interested in
|
How to Connect the Cables to the Battery of the Citroen Xsara Picasso?
In this tutorial, you will see how to connect the cables to the battery of the Citroen Xsara Picasso, useful if you need to recharge it or perform an emergency start. First, ensure the key is not inserted, then open the bonnet and move to the front of the left headlamp. Next, locate the bolt just behind the filter box and connect the positive terminal clamp to it. Now you can connect the negative terminal to any point on the chassis, such as the indicated point. Once the operation is complete, ensure you disconnect the negative first and then the positive. by ScegliAuto More videos
|
|
For advertising on this site Write to info@scegliauto.com
ScegliAuto is not responsible for any inaccuracy of the data in the lists. To report any inaccuracy or your business (if you own the business in question), please write to info@scegliauto.com
Number of seconds to generate the page: 0.076
(c) ScegliAuto 2026 - info@scegliauto.com - Privacy policy VAT number: IT01247470535 |
