
|
Do it yourself
| |||
| ||||


How to Repair the Light Selector of the Renault Kangoo
Model: Renault Kangoo
MK 1, KC, KW
- Years 1997-2008
In this video, see how to repair the light selector of the Renault Kangoo I series. The problem was that when switching from dipped beam to main beam, everything worked fine, but in the reverse switch, the lights would turn off completely for a few seconds. The YouTuber removed the plastics around the steering column, and not wanting to dismantle the entire block where the light contacts are located for proper cleaning, he used a contact cleaner (WD-40 works perfectly), spraying it inside the block and also behind, where the threads are. The problem was resolved, but the grease needed to lubricate the contacts also came off. He solved it by using a silicone spray to restore the lubrication that had been lost, and now everything works excellently.
Updated on 8 September 2026 by ScegliAuto
Video tutorial
Related tutorials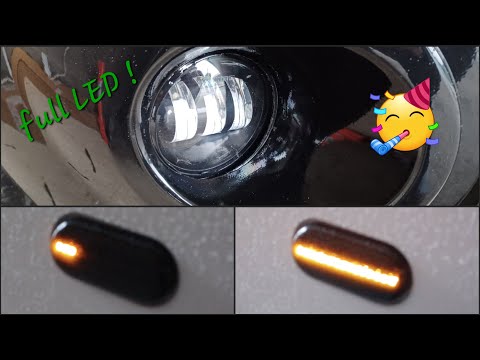
Renault Kangoo
(2007-2021 /
MK 2, FC, FW)
Today, you will learn the instructions to install the front fog lights on a Renault Kangoo in simple steps. First, remove the front bumper by unscrew…

Renault Kangoo
(2007-2021 /
MK 2, FC, FW)
Today, we will discover the instructions that will allow us to remove and replace the rear light bulbs of the Renault Kangoo. First, open the rear do…

Renault Kangoo
(1997-2008 /
MK 1, KC, KW)
To manage the operation of the devices present on the Renault Kangoo, it will be necessary to locate the appropriate fuse boxes that contain the fuse…
Other guides you may be interested in
|
How to Bleed the Clutch on a Renault Clio?
To bleed the clutch on a Renault Clio, open the bonnet to access the components located in the engine bay: here, you will need to undo the screws that secure the battery in its housing, the intake manifold, and the coolant reservoir. This will allow you to locate the pipe through which the brake fluid flows: by inserting the other end of the pipe into a container, you can press the clutch pedal to expel all the fluid until it fills the container. by ScegliAuto More videos
|
|
For advertising on this site Write to info@scegliauto.com
ScegliAuto is not responsible for any inaccuracy of the data in the lists. To report any inaccuracy or your business (if you own the business in question), please write to info@scegliauto.com
Number of seconds to generate the page: 0.309
(c) ScegliAuto 2026 - info@scegliauto.com - Privacy policy VAT number: IT01247470535 |
