
|
Do it yourself
| |||
| ||||


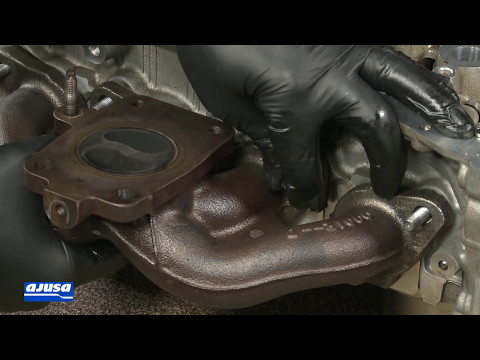
Replacing the Exhaust Manifold Gasket
Model: Renault Megane
Megane 1
- Years 1995-2003
After thoroughly cleaning the gasket seating, place the gasket aligning it with the dowel pins and fit the exhaust manifold; then tighten the manifold fixing nuts with a torque wrench and in a cross pattern to ensure even adherence of the gasket. This gasket is made of metallic material to withstand high temperatures and the acidic action of exhaust gases without deteriorating or deforming, ensuring a good seal over time, preventing leaks and emissions that could lead to annoying noises and compromise engine performance.
Updated on 12 February 2026 by ScegliAuto
Video tutorial
Related tutorials
Renault Megane
(1995-2003 /
Megane 1)
When reassembling an engine, for example after dismantling to replace the cylinder head gasket, it is good practice to replace all gaskets: there is …
Renault Megane
(1995-2003 /
Megane 1)
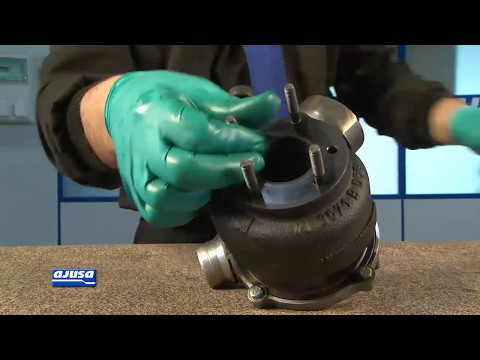
When installing a new turbocharger or a refurbished one, it is advisable to apply new gaskets, starting with the lubrication pipe gasket, and install…
Renault Megane
(2008-2015 /
Megane 3, Megane III)
Before applying the new gasket, it is essential to thoroughly clean the gasket seat, both on the cylinder head side and the manifold side, removing a…
Other guides you may be interested in
|
How to Dismantle the Heating Radiator on a Mini Cooper
Let’s see how to dismantle the heating radiator on a Mini Cooper. First, remove the plastic cover of the centre tunnel (located under the centre tunnel on the left). Unscrew the securing screws with a screwdriver, and remove the black plastic cover that hides the heating radiator. Once all the described operations are completed, move to the engine bay: remove the plastic engine cover and disconnect the two hoses (unscrew the securing clips if present) of the radiator that goes into the cabin, allowing the fluid to drain. Disconnect the radiator from the pipes inside the cabin. Work in reverse for all the assembly steps. by ScegliAuto More videos
|
|
For advertising on this site Write to info@scegliauto.com
ScegliAuto is not responsible for any inaccuracy of the data in the lists. To report any inaccuracy or your business (if you own the business in question), please write to info@scegliauto.com
Number of seconds to generate the page: 0.058
(c) ScegliAuto 2026 - info@scegliauto.com - Privacy policy VAT number: IT01247470535 |