
|
Do it yourself
| |||
| ||||


How to Reset the Service Light on a Renault Scenic 3
Model: Renault Scenic
Scenic 3, MK 3, MK III, Scenic III
- Years 2009-2015
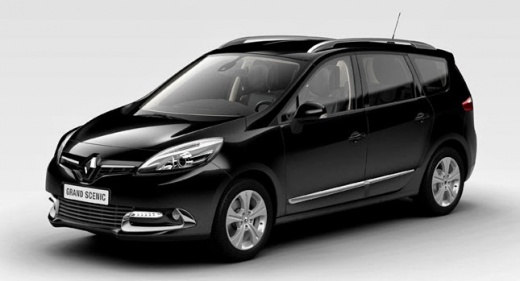
If you want to manually reset the service light that appears on the instrument cluster of your Renault Scenic third series (2009-2015), simply follow the instructions outlined in this new guide. First, get into your car and turn on the instrument cluster. Then, press the lower button located at the end of the right steering lever multiple times and navigate through the onboard menu until you find the vehicle maintenance option. At this point, hold down the same button for a few seconds and release it as soon as the service light reset is complete.
Updated on 11 July 2026 by ScegliAuto
This video is currently unavailable
Related tutorials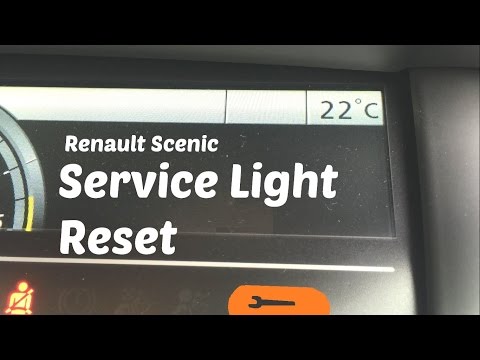
Renault Scenic
(2009-2015 /
Scenic 3, MK 3, MK III, Scenic III)
In this video tutorial, you will see the steps to reset the service light for routine maintenance on a Renault Scenic. First, get inside the car and …
Renault Scenic
(2009-2015 /
Scenic 3, MK 3, MK III, Scenic III)
In this short and simple guide, we will see the procedure to reset the service light on a Renault Scenic and Grand Scenic. First, get inside the vehi…
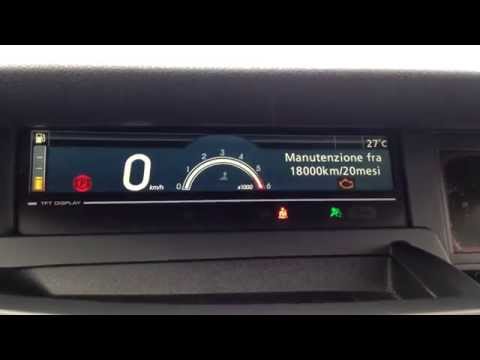
Renault Scenic
(2009-2015 /
Scenic 3, MK 3, MK III, Scenic III)
Before you can start, ensure that the service has been performed, then sit in the driver's seat of your Renault Scenic. Begin by activating the instr…
Other guides you may be interested in
|
How to Open the Fuel Cap of the Volkswagen Jetta
When you need to refuel this vehicle, first open the fuel filler flap. Follow these simple instructions, and you can also watch the video for more details. First, unlock the central locking to open the flaps. Then, press the fuel cap with your hand to unlock it and open it. Underneath, you will find the fuel cap, which you need to unscrew counterclockwise. At this point, you can proceed to refuel. by ScegliAuto More videos
|
|
For advertising on this site Write to info@scegliauto.com
ScegliAuto is not responsible for any inaccuracy of the data in the lists. To report any inaccuracy or your business (if you own the business in question), please write to info@scegliauto.com
Number of seconds to generate the page: 0.122
(c) ScegliAuto 2026 - info@scegliauto.com - Privacy policy VAT number: IT01247470535 |
