
|
Do it yourself
| |||
| ||||


Renault Megane - Video tutorial
Model: Renault Megane
Megane 2
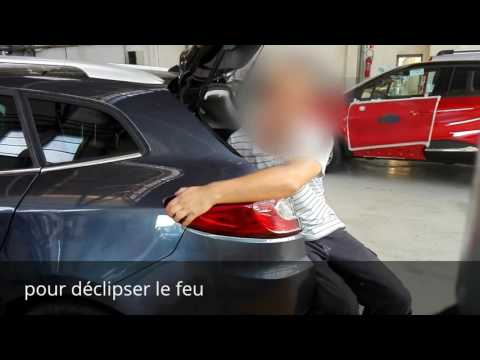
- Years 2002-2010 In this video tutorial we can see how to replace the rear light bulb on a Renault Megane. The first thing to do is to get inside the car, turn off the car and put on the handbrake; to access the rear light bulb, lift the boot; once the tailgate has been lifted, lift the cover located behind the headlight, use a socket wrench with an 8 insert, to unscrew the three screws, which block the headlight. Once the three screws have been removed, the headlight can be detached, to do this, you must pull the block towards you. Once the headlight has been removed, you must disconnect the power connector by lifting the plastic tab. Now you need to release the bulb support plate, then grab the two tabs and pull the plate away. Replace the malfunctioning bulb with the new one and reassemble the parts in reverse order.
Posted on 30 May 2023 by ScegliAuto
 Replacing the rear light bulbs on Renault Megane
Renault Megane (2008-2015 / Megane III, Megane 3) Replacing the rear light bulbs of the Renault Megane, let's see how they change. Open the luggage compartment lid and remove with a lever the plastic 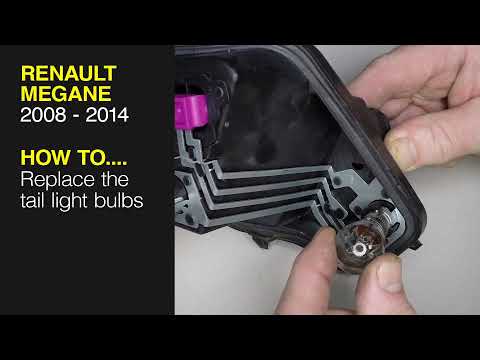 How to replace the rear light bulbs in Renault Megane?
Renault Megane (2008-2015 / Megane III, Megane 3) In this tutorial we can see how to replace the rear light bulbs in your Renault Megane, an extremely simple and fast operation. First of all make sur 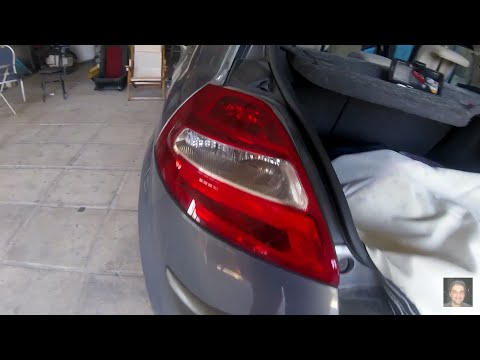 How to change the rear light bulbs of a Renault Megane
Renault Megane (2002-2010 / Megane 2) How to change the rear light bulbs of a Renault Megane? We open the bonnet of the luggage compartment, unscrew with a screwdriver (with a socket wren Other guides that may interest you
|
Frequently Asked QuestionsHow do you replace the horn on the Citroà «n Berlingo?
In order to replace the horn on the Citroà «n Berlingo, the vehicle must be raised so that the screws that secure the left front wheel can be loosened and removed completely. Once this wheel has been removed, it will be possible to access the screws that secure the internal cover of the corresponding wheel arch: this will have to be detached and it will be possible to access the components inside, including the horn. This will need to be disconnected from its connector and removed from its holders, so that it can be replaced with a new spare part. by ScegliAuto More videos
|
|
For advertising on this site Write to info@scegliauto.com
ScegliAuto is not responsible for any inaccuracy of the data in the lists. To report any inaccuracy or your business (if you own the business in question), please write to info@scegliauto.com
Number of seconds to generate the page: 0.072
(c) ScegliAuto 2024 - info@scegliauto.com - Privacy Policy VAT number: IT01247470535 |