
|
Do it yourself
| |||
| ||||


How to Dismantle and Repair the Headlining of a Renault Scenic
Model: Renault Scenic
Scenic 2, MK 2
- Years 2003-2009
A common fault is the detachment of the headlining covering inside the cabin: it can be restored by gluing new fabric, but it requires dismantling and removing it from the cabin; this operation really requires a lot of patience and attention as there are many elements to remove to extract the headlining, and the risk of breaking any clips or plastic tabs is quite high; you will need to remove the sun visors, handles, interior light fittings, and the trim plastics of all the pillars; during the extraction of the headlining from the cabin (and subsequent reinstallation), you must be very careful not to deform it. Detaching and applying the new fabric is then quite simple.
Updated on 19 February 2026 by ScegliAuto
Video tutorial
Related tutorials
Renault Scenic
(2003-2009 /
Scenic 2, MK 2)
In this brief guide, we will see the instructions that will allow us to repair the automatic handbrake button on a Renault Scenic in simple and quick…

Renault Scenic
(2009-2015 /
MK III, Scenic III, Scenic 3, MK 3)
Today's main instructions will allow us to dismantle and replace the alternator in the Renault Scenic 1.5 dCi. First, open the vehicle's bonnet and b…
Renault Scenic
(2009-2015 /
MK III, Scenic III, Scenic 3, MK 3)
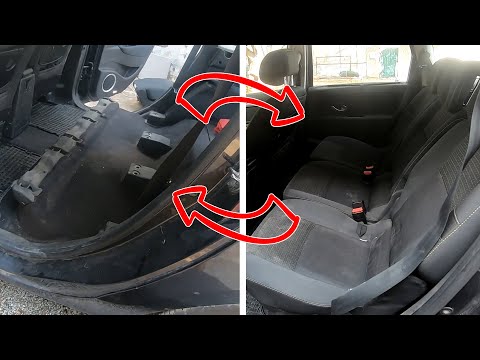
The steps outlined in this guide will show us how to disassemble and potentially repair or replace the rear seats of the Renault Scenic. First, we op…
Other guides you may be interested in
|
How to Replace the Front Headlight of a Toyota Aygo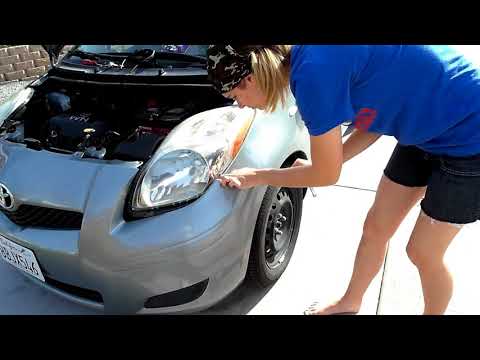
To carry out this operation, you will need to release the bonnet from the appropriate lever to lift it and secure it with the prop rod. Disconnect the battery terminals to protect any more delicate circuits, then proceed to unscrew all the bolts securing the bumper and the headlights themselves, as there are additional bolts behind the bumper to remove. Disconnect the connectors at the back of each headlight to extract it, and in this way, you can install the new headlight. Reverse the steps described for reassembling the various components. by ScegliAuto More videos
|
|
For advertising on this site Write to info@scegliauto.com
ScegliAuto is not responsible for any inaccuracy of the data in the lists. To report any inaccuracy or your business (if you own the business in question), please write to info@scegliauto.com
Number of seconds to generate the page: 0.052
(c) ScegliAuto 2026 - info@scegliauto.com - Privacy policy VAT number: IT01247470535 |