
|
Do it yourself
| |||
| ||||


How to Replace the Bulb on Renault Twingo
Model: Renault Twingo
Twingo 1
- Years 1993-2007
This video tutorial demonstrates the procedure to replace the rear light bulb on your Renault Twingo. To replace the bulb, open the boot. Using a 10mm spanner, remove the bolts securing the light. Once the bolts are removed, take out the light. After removing the light from its housing, disconnect the connector by pressing the plastic tab and pulling the connector outwards. Once removed, lift the upper plastic tab to take off the light cover and access the bulb. Now, remove the old bulb by pushing and twisting it a quarter turn, and insert the new one. After replacing the bulb, reattach the plastic cover, reconnect the connector, place the light back in its housing, and reinsert the bolts, tightening them with the 10mm spanner.
Updated on 21 August 2026 by ScegliAuto
Video tutorial
Related tutorials
Renault Twingo
(2007-2014 /
Twingo 2)
This guide focuses on the Renault Twingo 2 and the replacement of one of the bulbs in the rear light assembly. All car owners know that over time, th…
Renault Twingo
(2014-2024 /
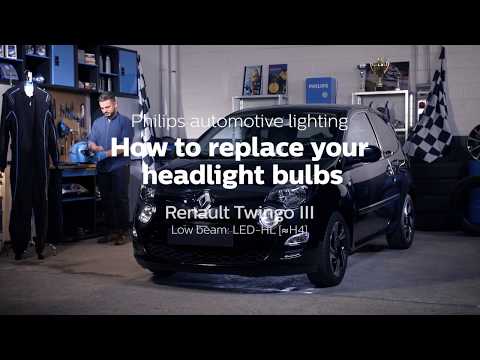
Twingo 3, Twingo III)
Today, you will see how to remove and replace the front headlamp bulb on a second-generation Renault Twingo. First, open the bonnet and remove the ru…
Renault Twingo
(1993-2007 /
Twingo 1)
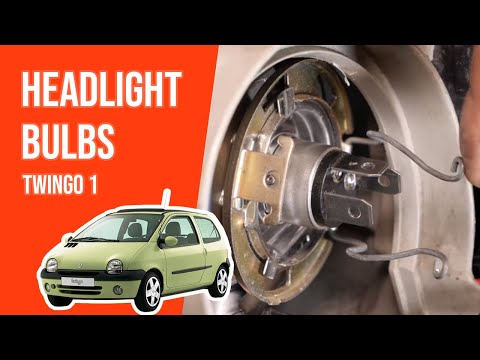
Before starting, open the front bonnet of your Renault Twingo. Begin by unfastening the clip that secures the inner cover of the blown bulb, then mov…
Other guides you may be interested in
|
How to Replace the Diesel Filter of the Peugeot 3008 1.5 BlueHDI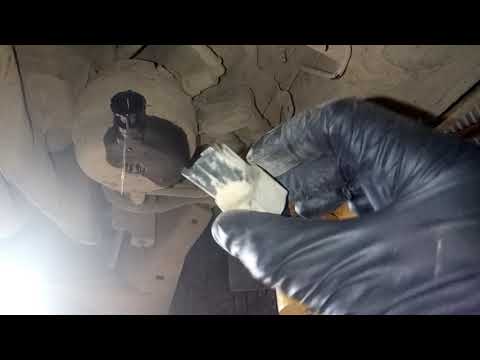
Briefly, we will see the main instructions for dismantling and replacing the diesel filter of the Peugeot 3008 1.5 BlueHDI. First, locate the diesel filter under the vehicle, so it will be necessary to lift it; then disconnect the electrical connector and the fuel lines from the filter, unscrewing the side screws to remove the cartridge, as shown in the video. At this point, replace the diesel filter with the new one, as well as with the original one; then reconnect the pipes and the electrical connector, following the video tutorial to the end! by ScegliAuto More videos
|
|
For advertising on this site Write to info@scegliauto.com
ScegliAuto is not responsible for any inaccuracy of the data in the lists. To report any inaccuracy or your business (if you own the business in question), please write to info@scegliauto.com
Number of seconds to generate the page: 0.103
(c) ScegliAuto 2026 - info@scegliauto.com - Privacy policy VAT number: IT01247470535 |
