
|
Do it yourself
| |||
| ||||


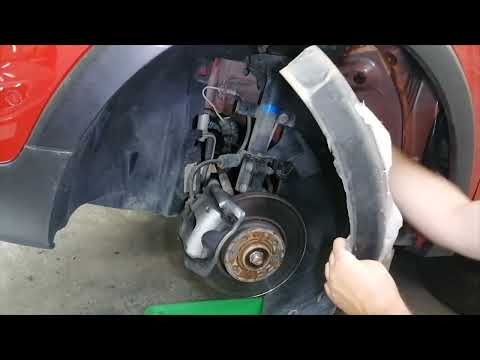
How to remove the front bumper of a Renault Captur?
Model: Renault Captur
MK 1
- Years 2013-2019
To remove the front bumper of a Renault Captur, start by opening the hood and locating the screws and plastic clips along the top edge of the bumper, removing them with a screwdriver. Next, lift the car with a jack and secure it with jack stands to access the underside of the bumper, where you will find more screws to unscrew. Then move on to the front wheels, turning them to access the wheel arches. Here, you will find more screws and plastic clips that secure the bumper to the wheel arches; remove them carefully. Once all the clips and screws are removed, gently pull the bumper starting from the sides, unhooking it from the clips that hold it to the bodywork. If the bumper is equipped with sensors or fog lights, disconnect the respective electrical connectors before removing it completely. Proceed with caution to avoid damaging the clips or wiring. With the bumper removed, you can perform the necessary repairs or replace it.
Posted on 23 May 2024 by ScegliAuto
Video tutorial
Related tutorials
Renault Captur
(2013-2019 /
MK 1)
The instructions in this guide will show us how to disassemble and replace the front bumper of the Renault Captur. First, we open the hood of the car…
Renault Captur
(2013-2019 /
MK 1)
In this short and simple guide we will see the steps that will allow us to disassemble and replace the front bumper of the Renault Captur. First, let…

Renault Captur
(2013-2019 /
MK 1)
Learn how to remove a front bumper on a Renault Captur: lift the bonnet and secure it, raise the car on a jack; using a plastic or metal lever, remov…
Other guides you may be interested in
|
Removing the Front Wheel of a Yamaha Tmax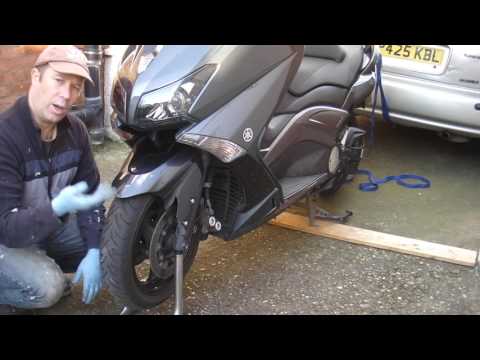
In this video tutorial, you will learn how to remove the front wheel of a Yamaha Tmax 530 (penultimate series). First, remove the fork bolts using a ratchet spanner: then also remove the brake caliper. Now, you will need a stand to lift the front of the bike to safely remove the wheel: then unscrew the central bolt of the wheel: at this point, you can remove it. If desired, you can also remove the mudguard by unscrewing the relevant screws. Apply the reverse procedure for reassembly! by ScegliAuto More videos
|

|
For advertising on this site Write to info@scegliauto.com
ScegliAuto is not responsible for any inaccuracy of the data in the lists. To report any inaccuracy or your business (if you own the business in question), please write to info@scegliauto.com
Number of seconds to generate the page: 0.086
(c) ScegliAuto 2026 - info@scegliauto.com - Privacy policy VAT number: IT01247470535 |